Performing the Springtime Check-Up
It doesn't take much effort to get your motorcycle back in action in the spring, providing you removed the battery, filled the tank to the brim and emptied the carburettors before tucking it up for the winter.
Note: The videos are in German.
- Performing the Springtime Check-Up – now let's get started
- 01 – Cleaning the motorcycle
- 02 – Charger resuscitation
- 03 – Check light
- 04 – Measuring tread depth
- 05 – Changing the brake fluid
- 06 – Check fork oil seal rings
- 07 – Check spark plugs
- 08 – Remove dirt
- 09 – Remove rust
- 10 – Oil change
- 11 – Clean drive chain
- 12 – Check belt tension
- 13 – Check the driveshaft oil level
- 14 – Tighten the exhaust system
- 15 – Inspect front fork and rear shock absorber
- 16 – Check the play in the throttle and clutch cables
- 17 – Check screws
- 18 – Is there enough fluid in the coolant reservoir?
- 19 – Investigate possible leaks
- 20 – Lubricate locks with cylinder lock spray
- 21 – Equalize tire pressure
- 22 – Remove resin from carburetor jets
- 23 – Test ride
- Our recommendation
Springtime check-up for your motorcycle
Did you find time for your bike last autumn? Time to remove the battery, top up the tank to the brim and empty the carburettors before tucking it in for its winter sleep? Well in that case, when spring comes it won't take much to get your "baby" back up and running and looking good.
Performing the Springtime Check-Up – now let's get started
Step 1: Cleaning the motorcycle
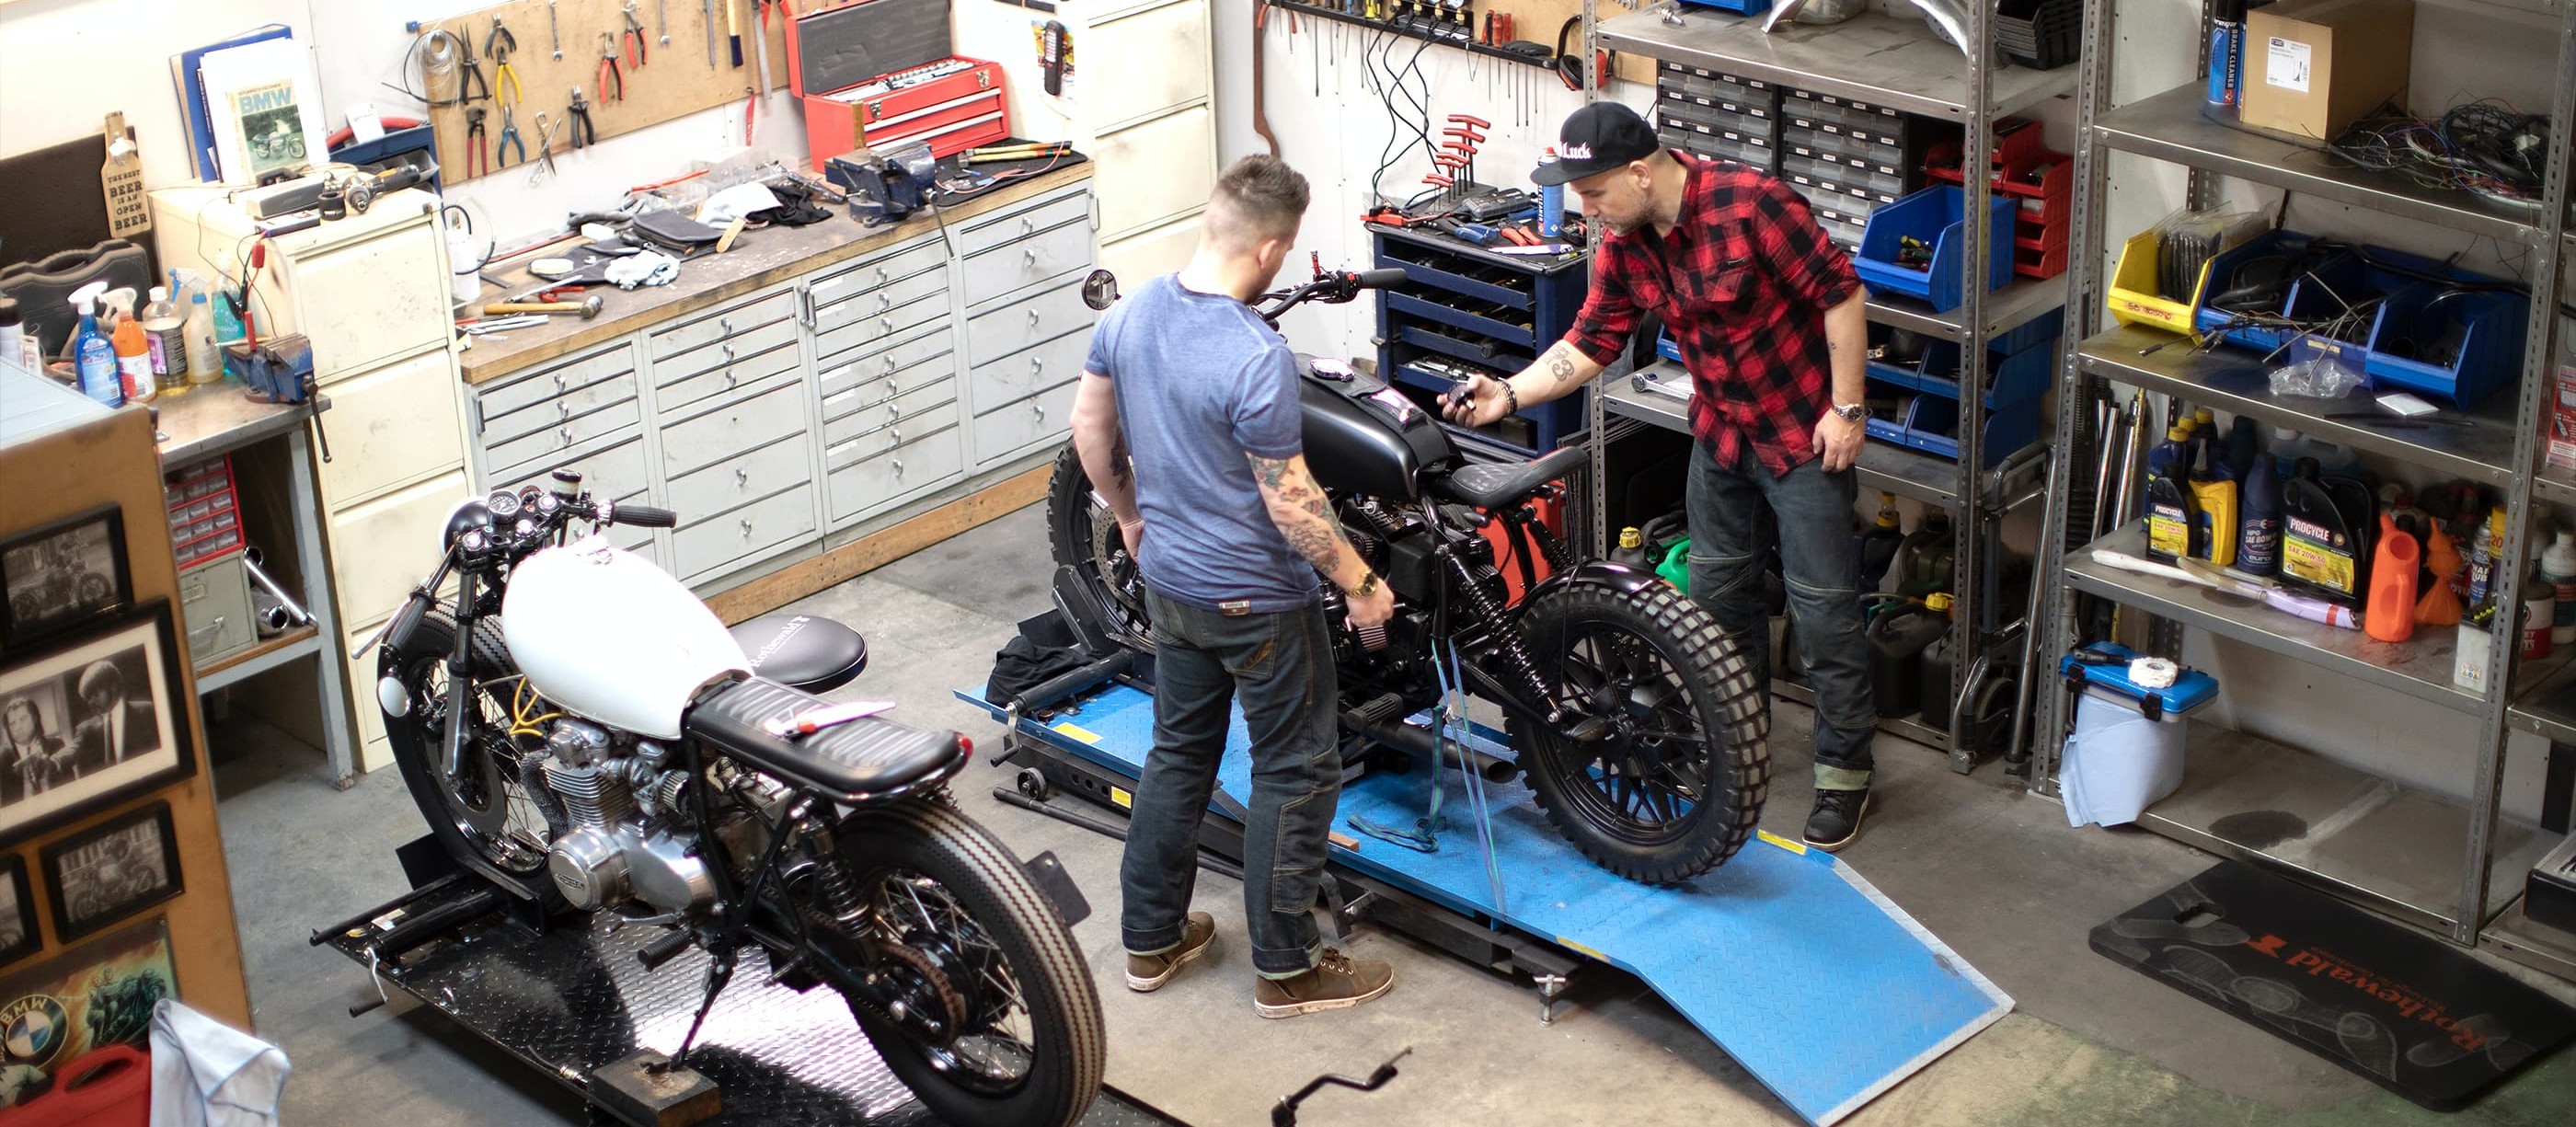
01 – Cleaning the motorcycle
If you used fine oil to protect the exhaust and engine block over the winter, wipe this off thoroughly and remove any oily cloths from the silencers. If you applied anti-corrosion treatment to the motorcycle, it is extremely important to thoroughly clean the brake discs with brake cleaner. Footrests and hand levers should be lubricant-free.
Step 2: Charger resuscitation
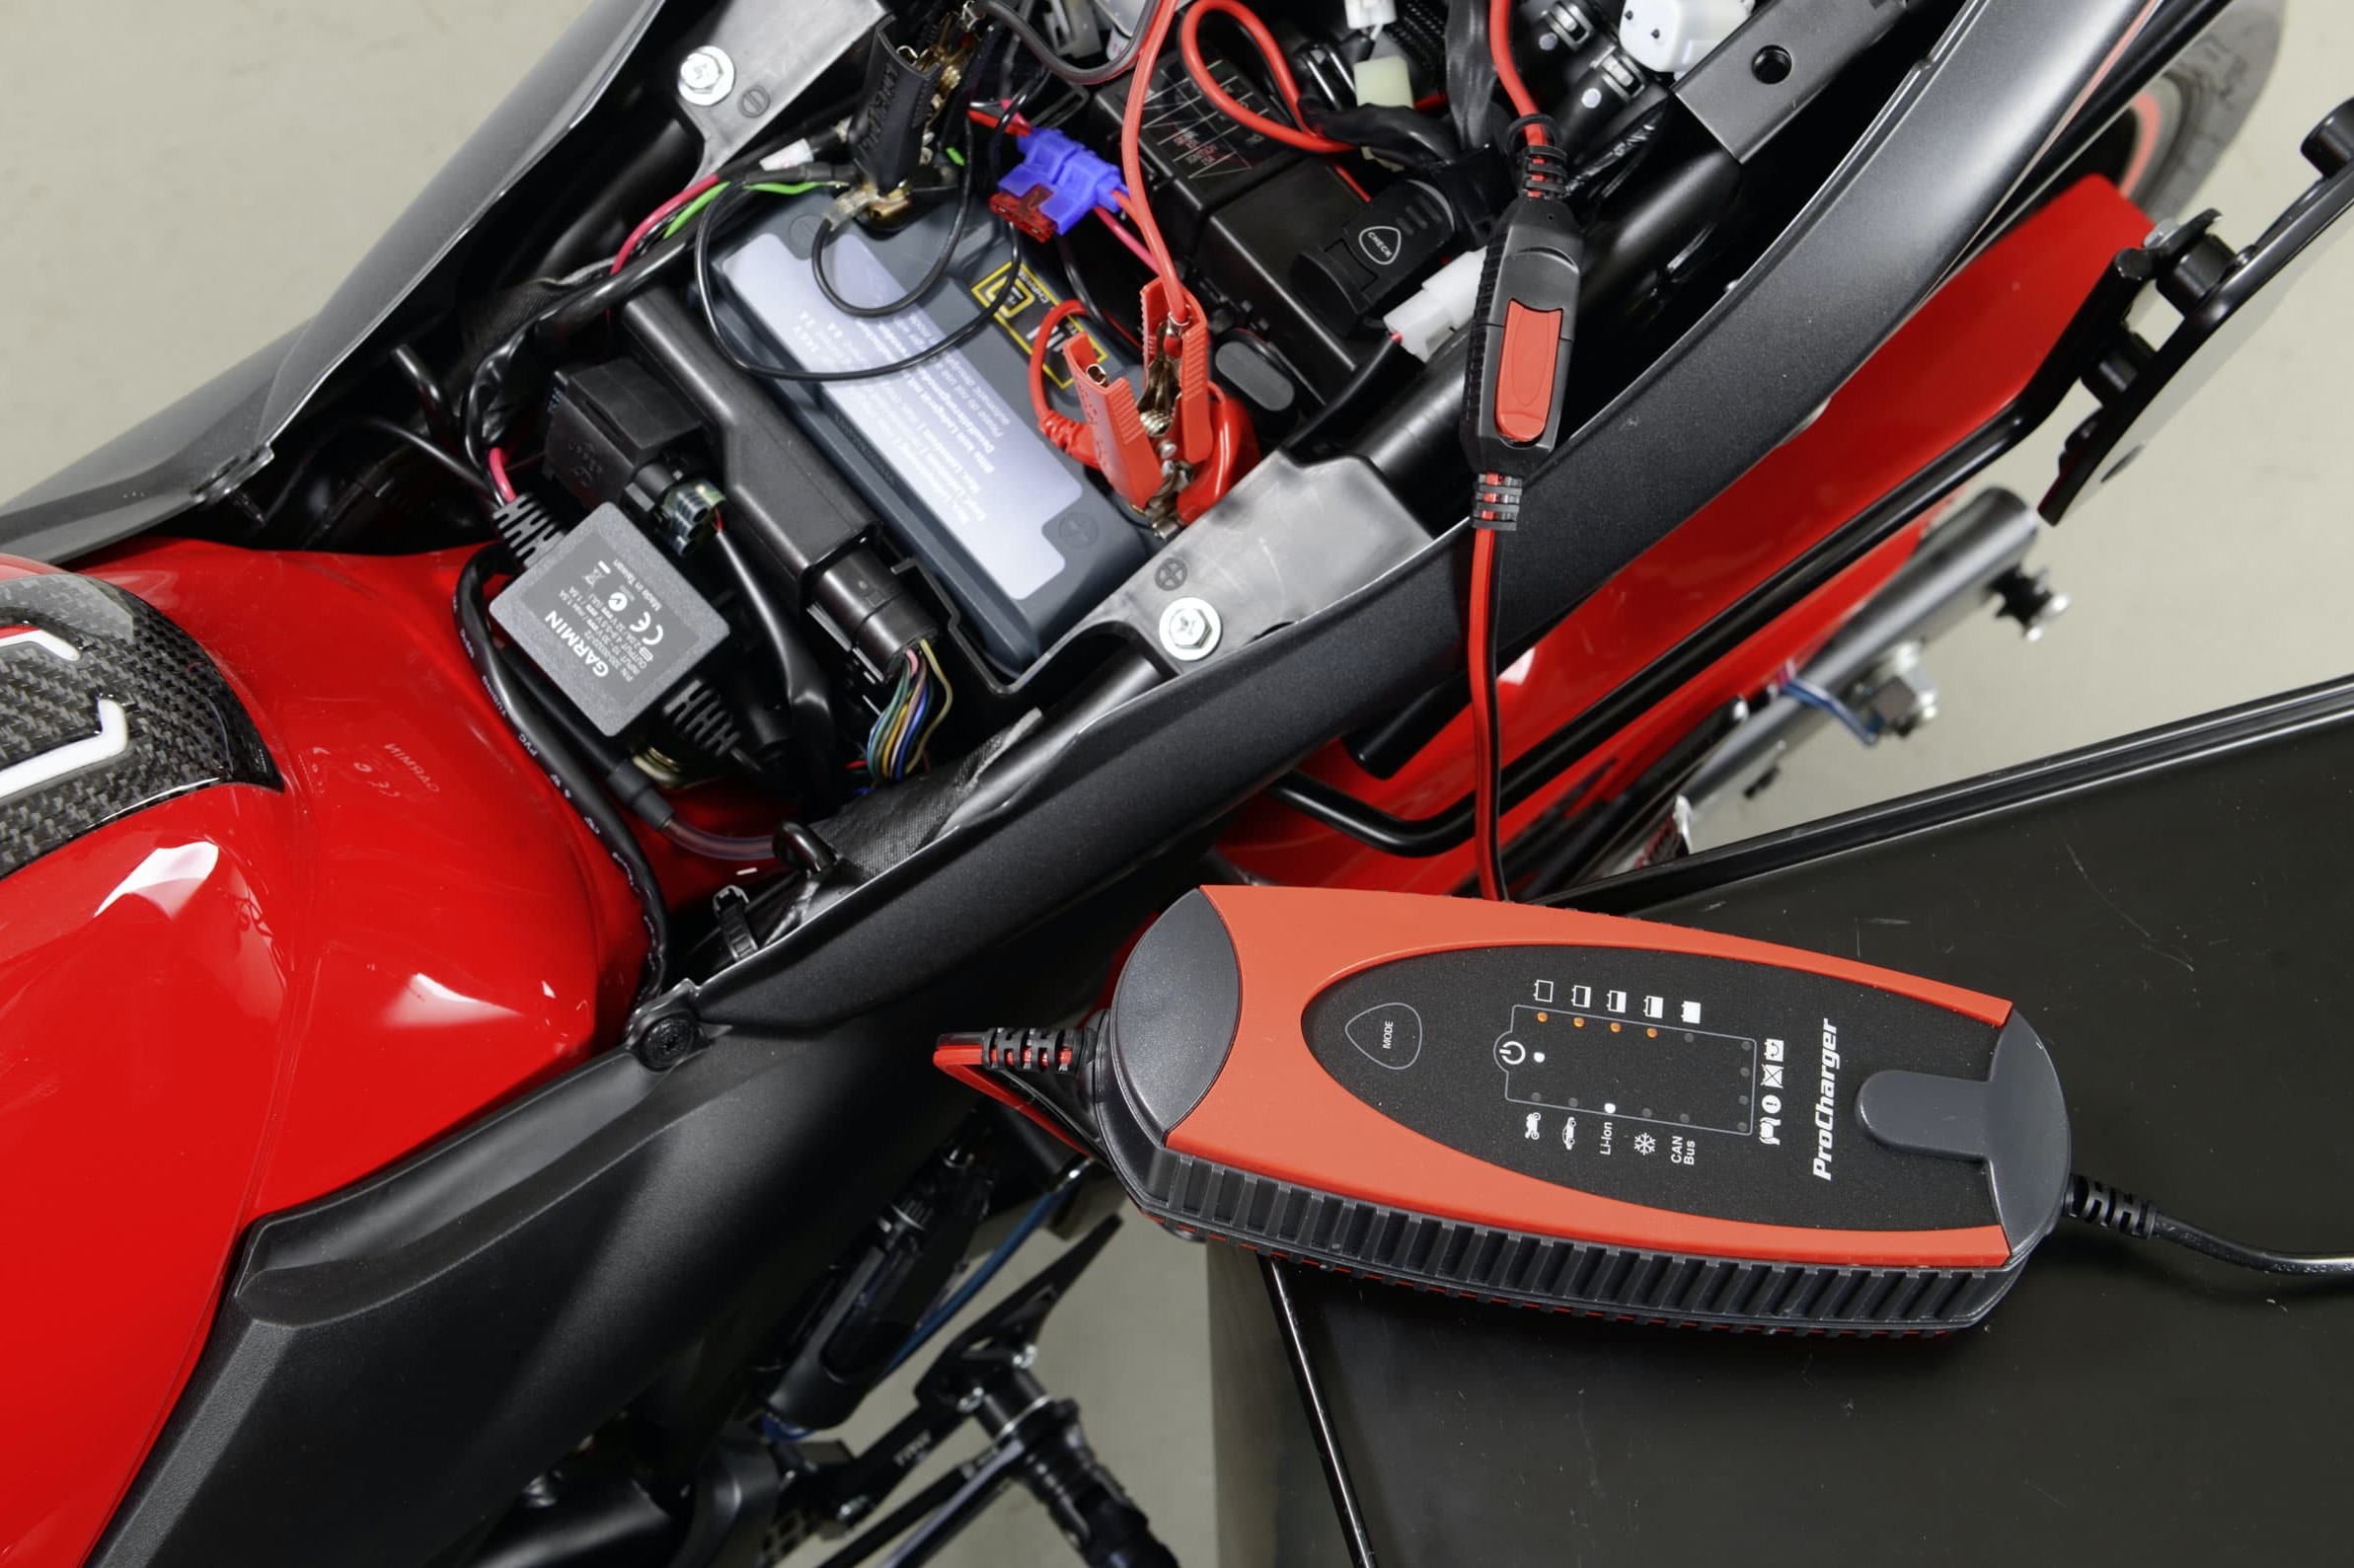
02 – Charger resuscitation
So now it's time to fetch the battery, which you (hopefully) stored somewhere frost-free indoors over the winter, and disconnect it from the charger. Once you've re-installed the battery, connect the positive cable first and then the negative cable. Then lubricate the terminals with a little battery terminal grease. Make sure that there are no kinks in the vent hose (this does not apply if you have a maintenance-free battery).
However, if you forgot about the battery last autumn and left it in your vehicle, then you will need to remove it now (disconnect the negative cable first) and revive it by connecting it to a charger.
If you have a standard acid battery, check the fluid level and top it up with deionised water - obviously not necessary if you have a maintenance-free battery. For more information refer to the section Battery in our DIY tips.
Unfortunately, if the battery has become deeply discharged over the winter months and the cells are more or less sulphated so that the battery won't charge properly, this means it's time for a new battery ...
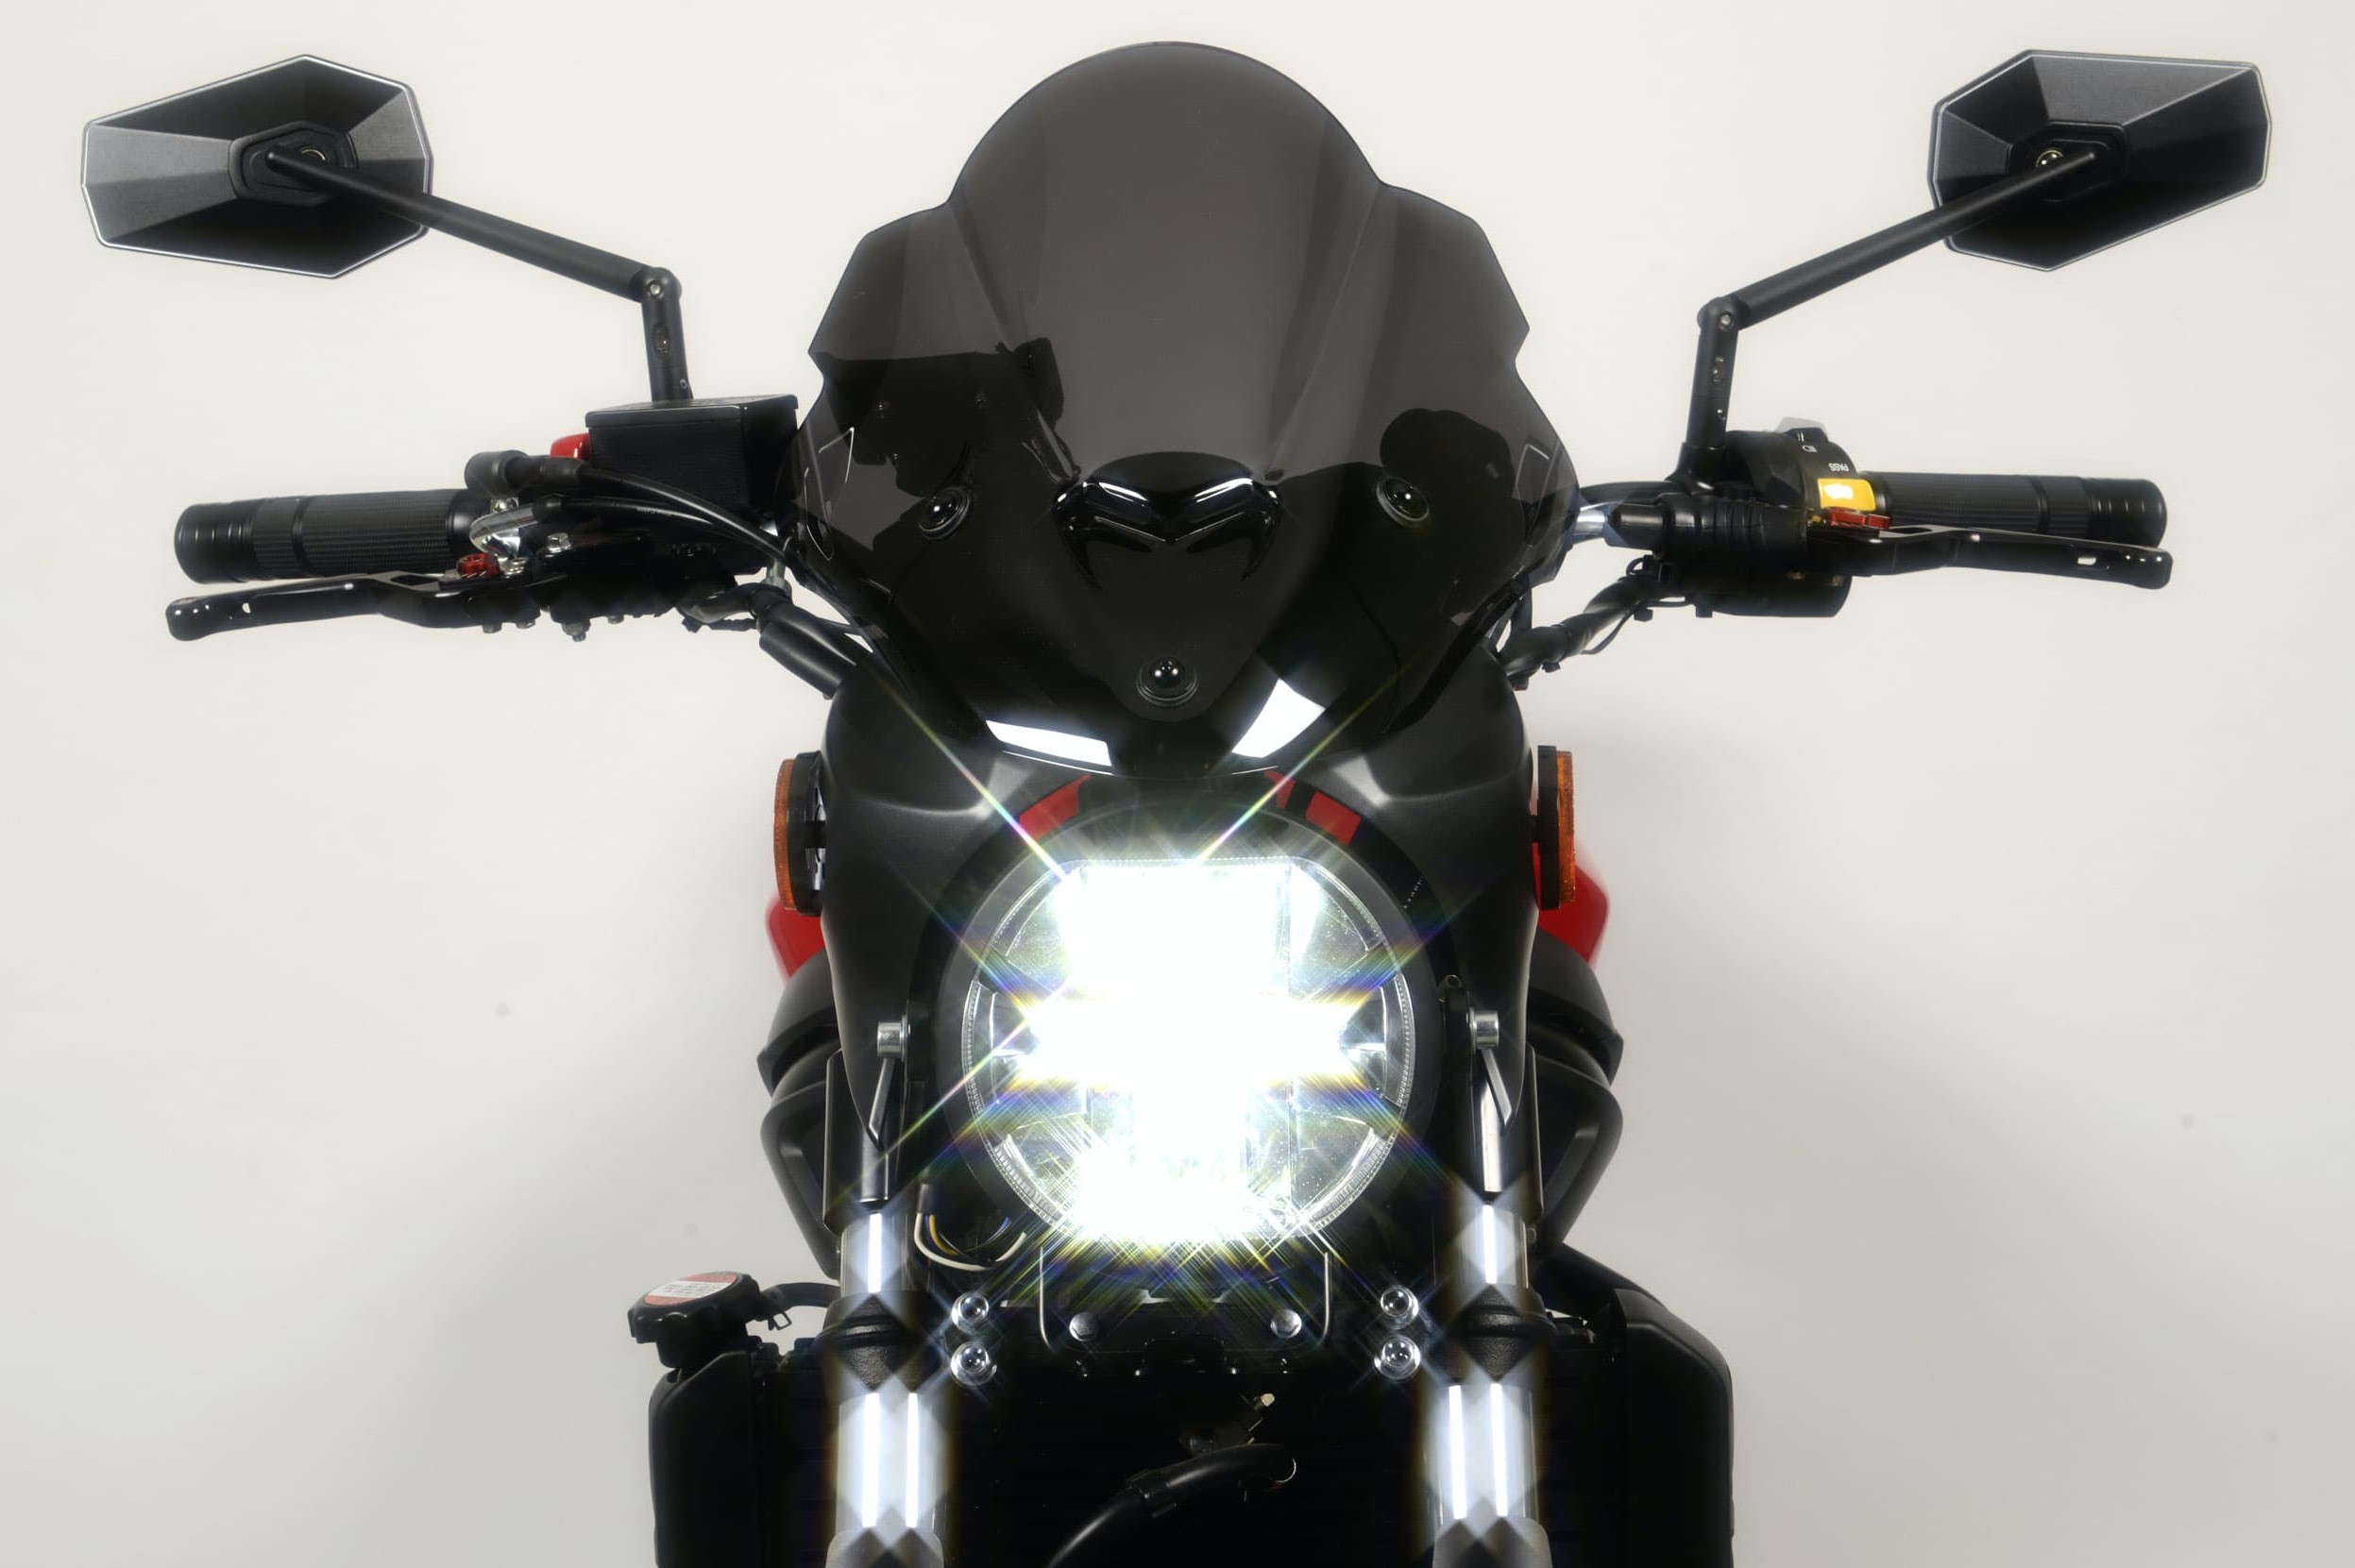
Step 3: The headlight is only one of several checklist items
03 – Check light
The horn and lights must be working (low-beam, high-beam, brake light, tail light, license plate light, indicator lights).
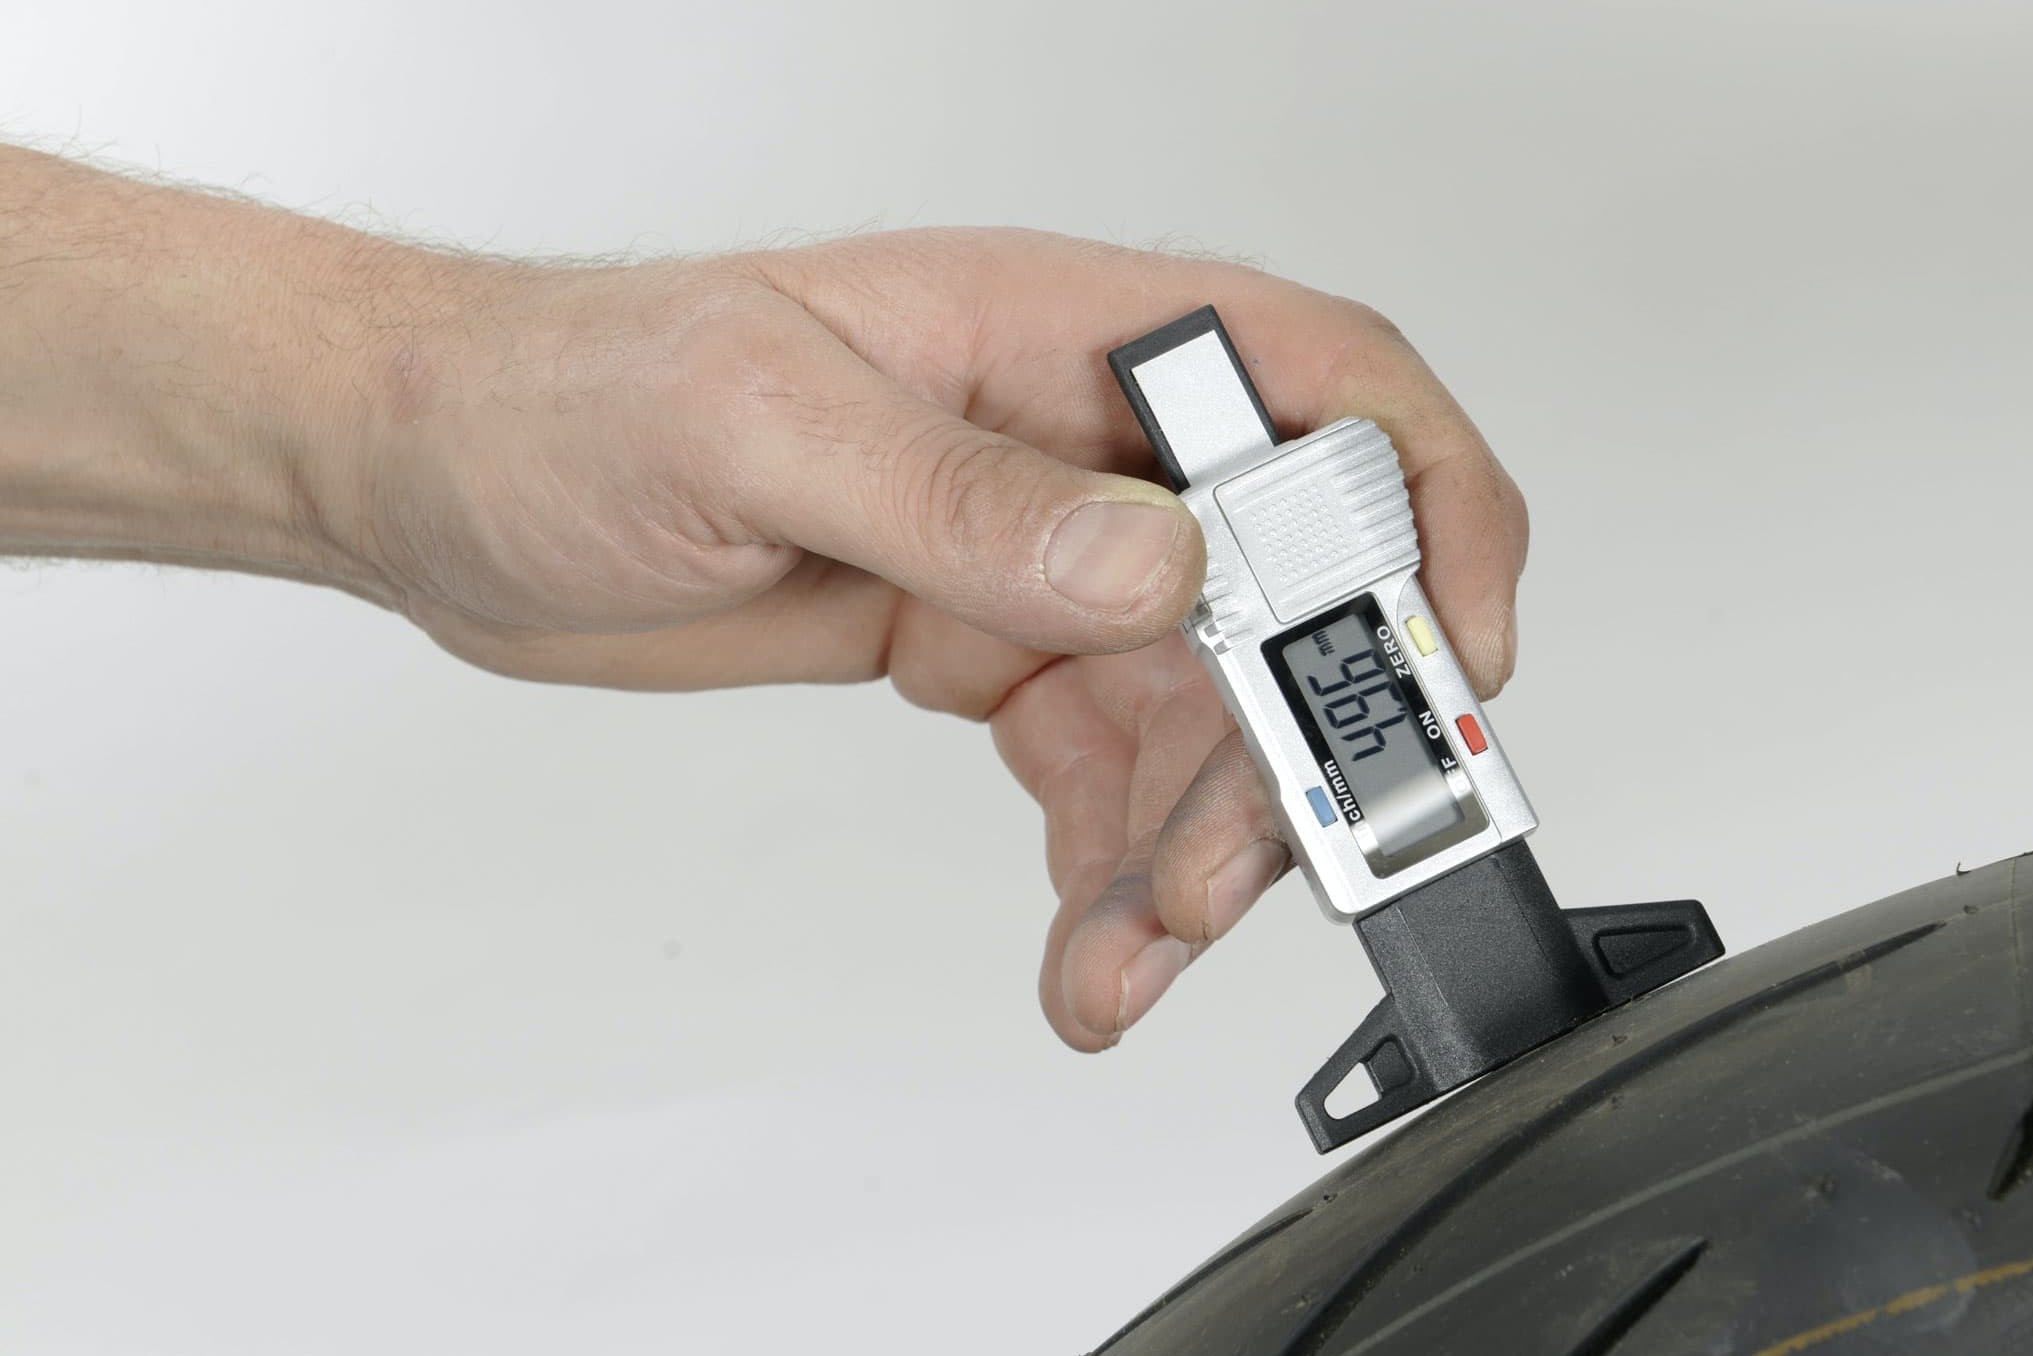
Step 4, Fig. 1: Measuring tread depth
04 – Measuring tread depth
Check your tyres for signs of ageing, brittleness and look for uneven or angular wear. Check the tread depth with a depth gauge. 1.6 mm is the absolute wear limit. However, if you want to stay safe in wet road conditions, we reckon that you should start saving for some new tyres once the gauge hits the 2 mm mark.
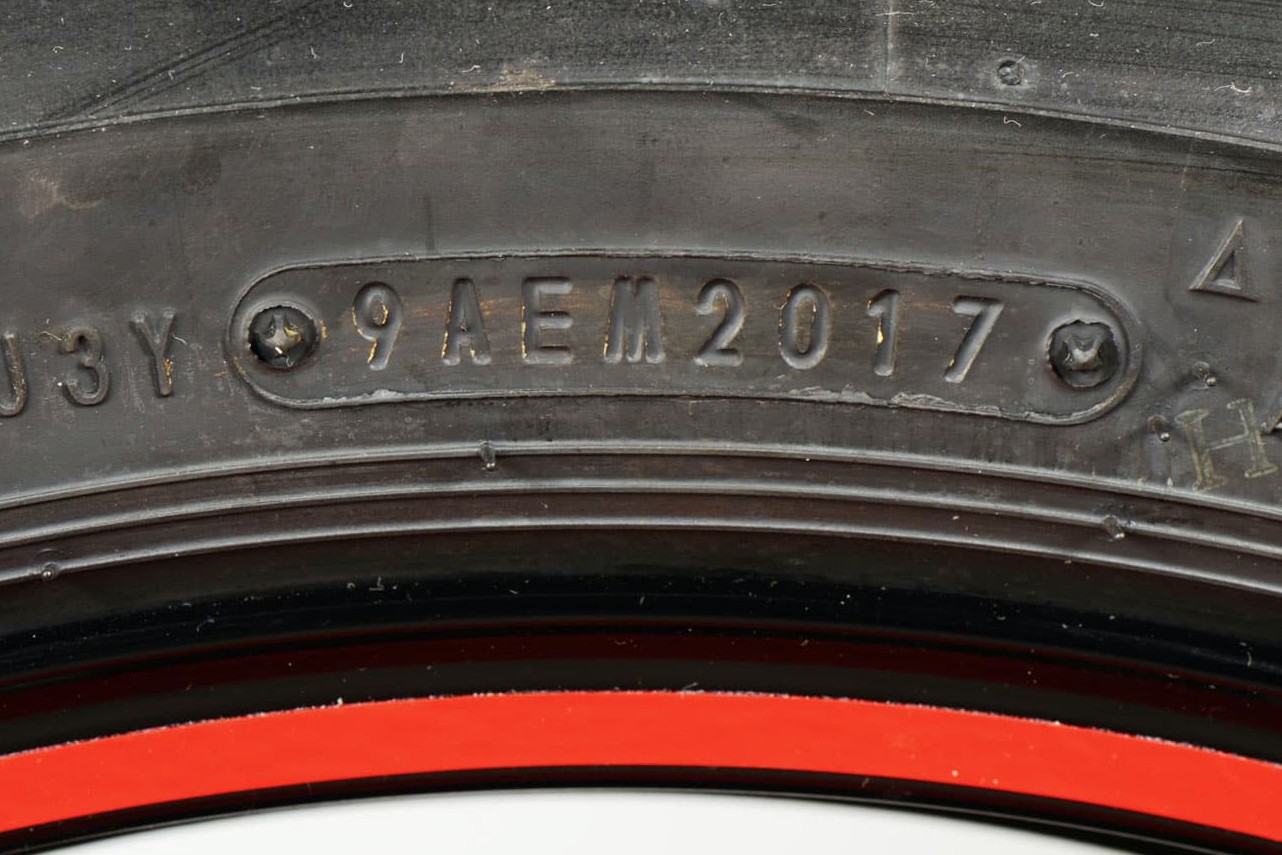
Step 4, Fig. 2: Production date (CW/year) here: 20th calendar week 2017
You can tell how old your tyres are from the production date on the sidewall. For example: 2017 means that the tyre was made in the 20th calendar week of 2017.
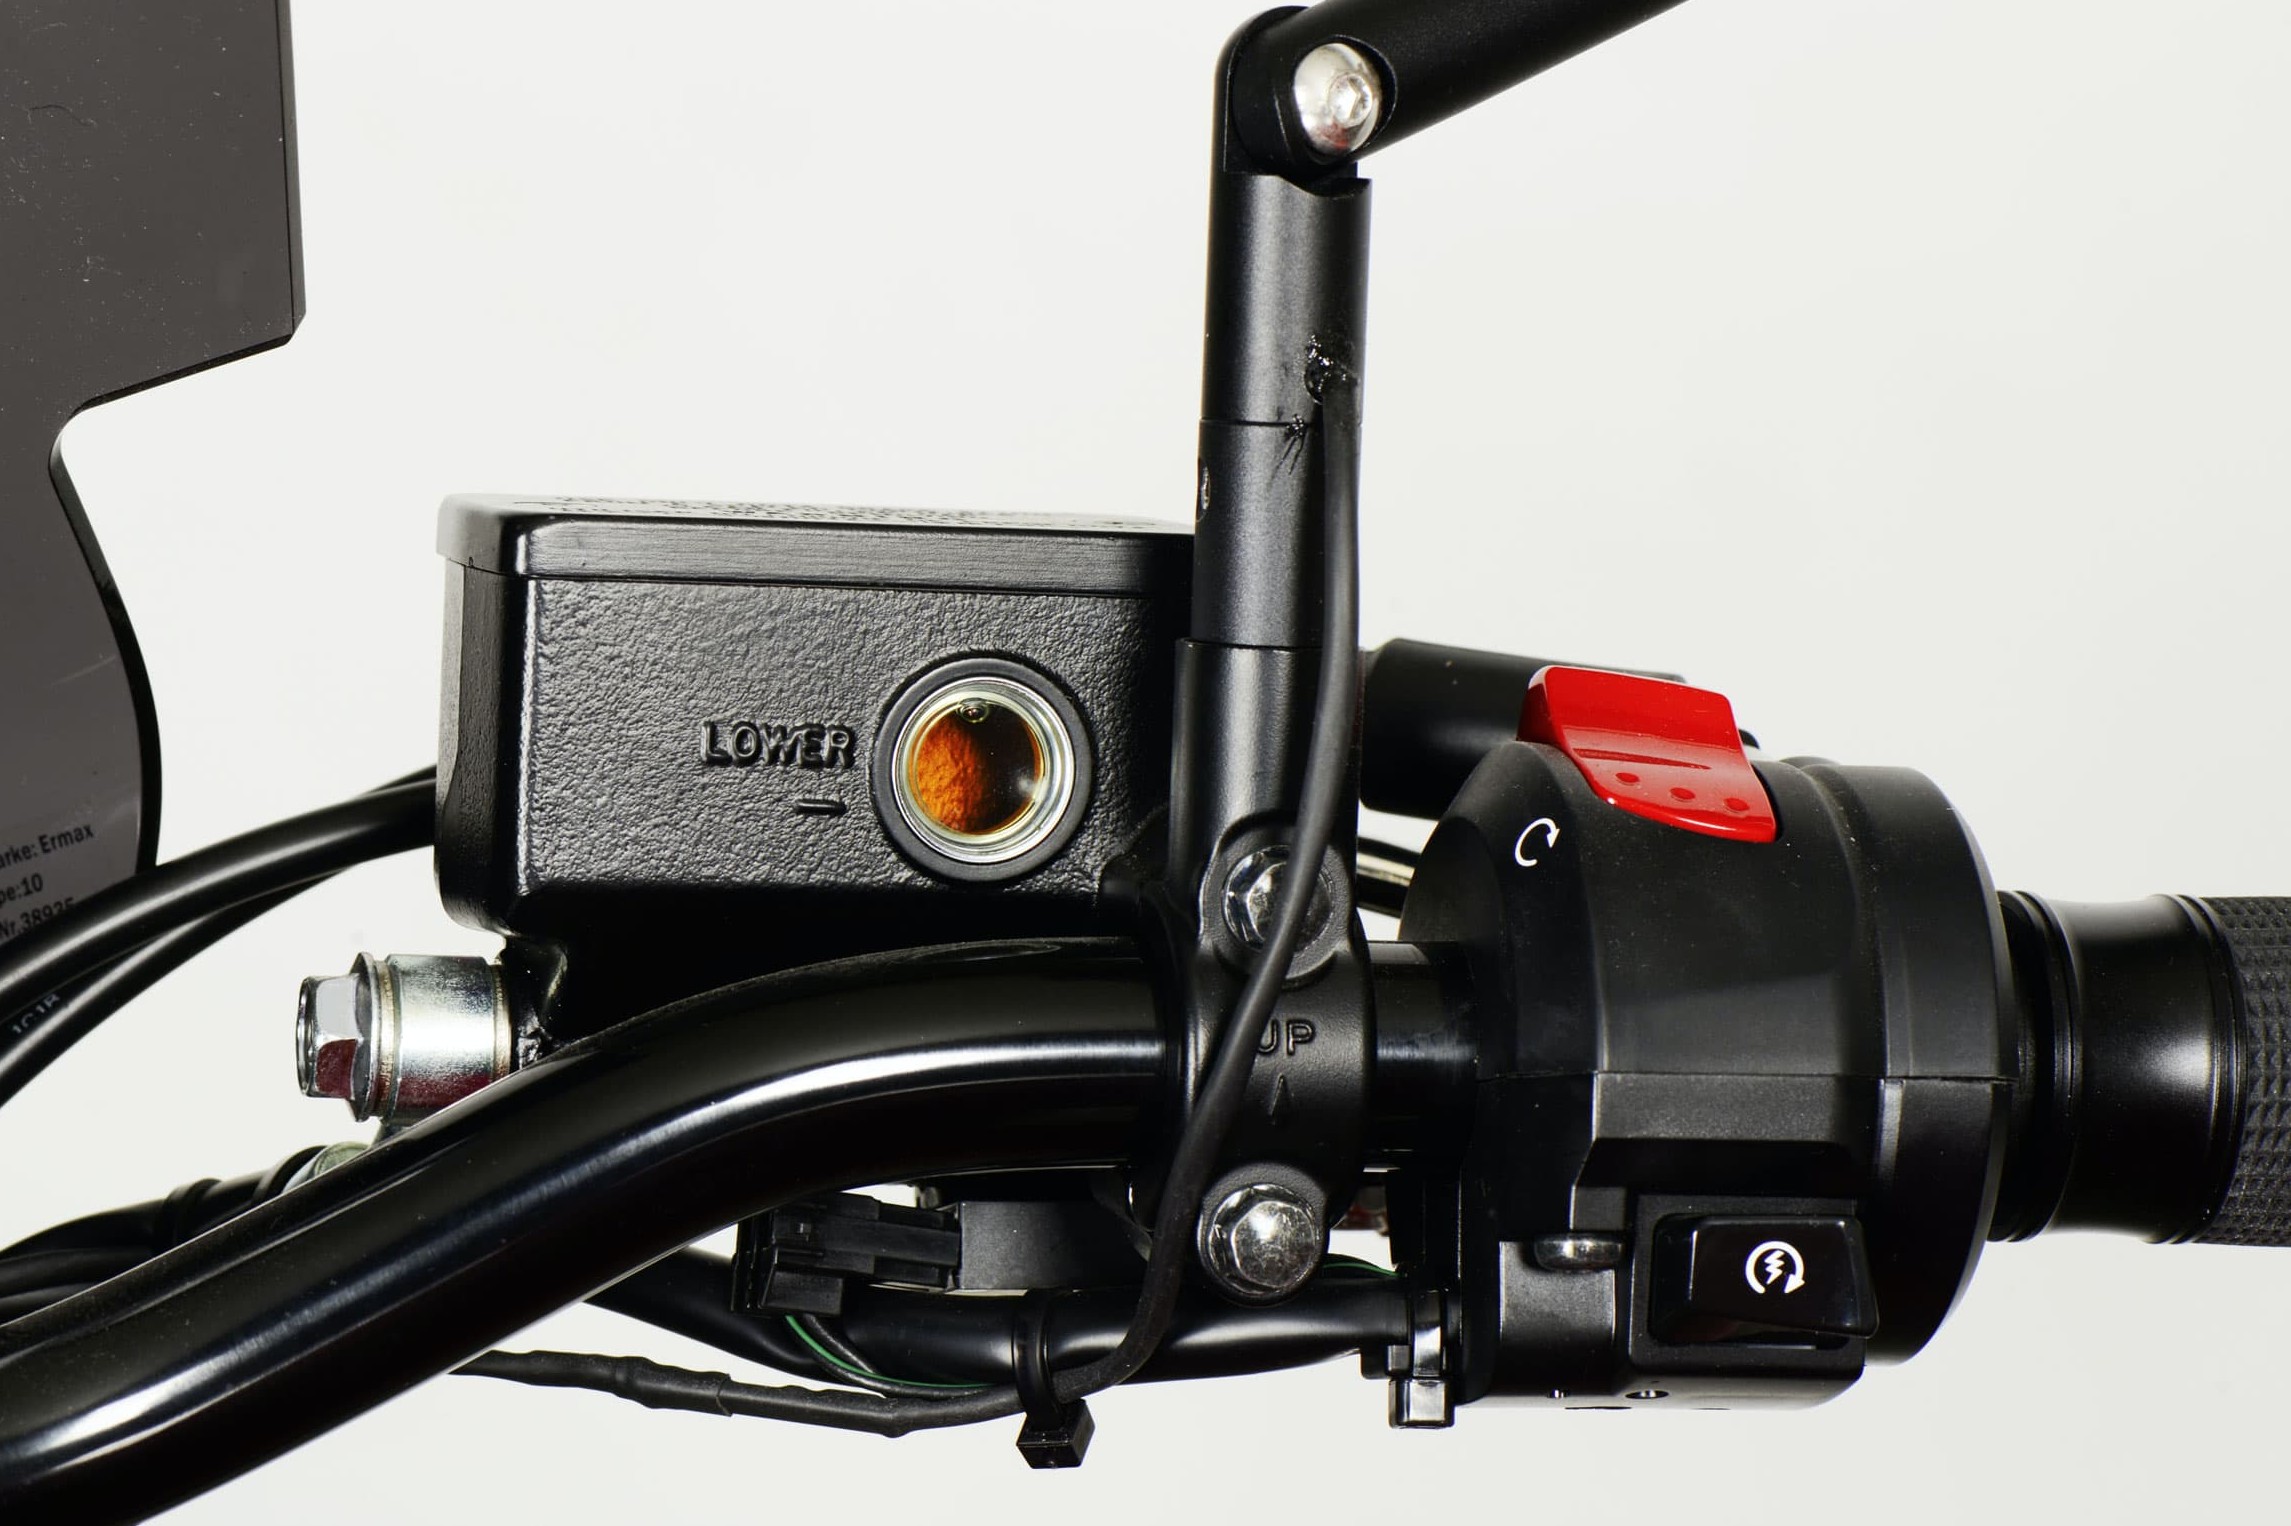
Step 5: If the brake fluid is cloudy, it's definitely time to change it
05 – Changing the brake fluid
Make sure you change the brake fluid every two years as, even in a closed system, the fluid will absorb water over time, which means a reliable brake pressure point can no longer be guaranteed. For more information on brake fluids refer to the section Brake Fluid Basics in our DIY tips.
The start of the season is also a good time to check that the brake pads still have plenty of wear left in them. For more information on how to do this, refer to the section Brake Pads in our DIY tips.
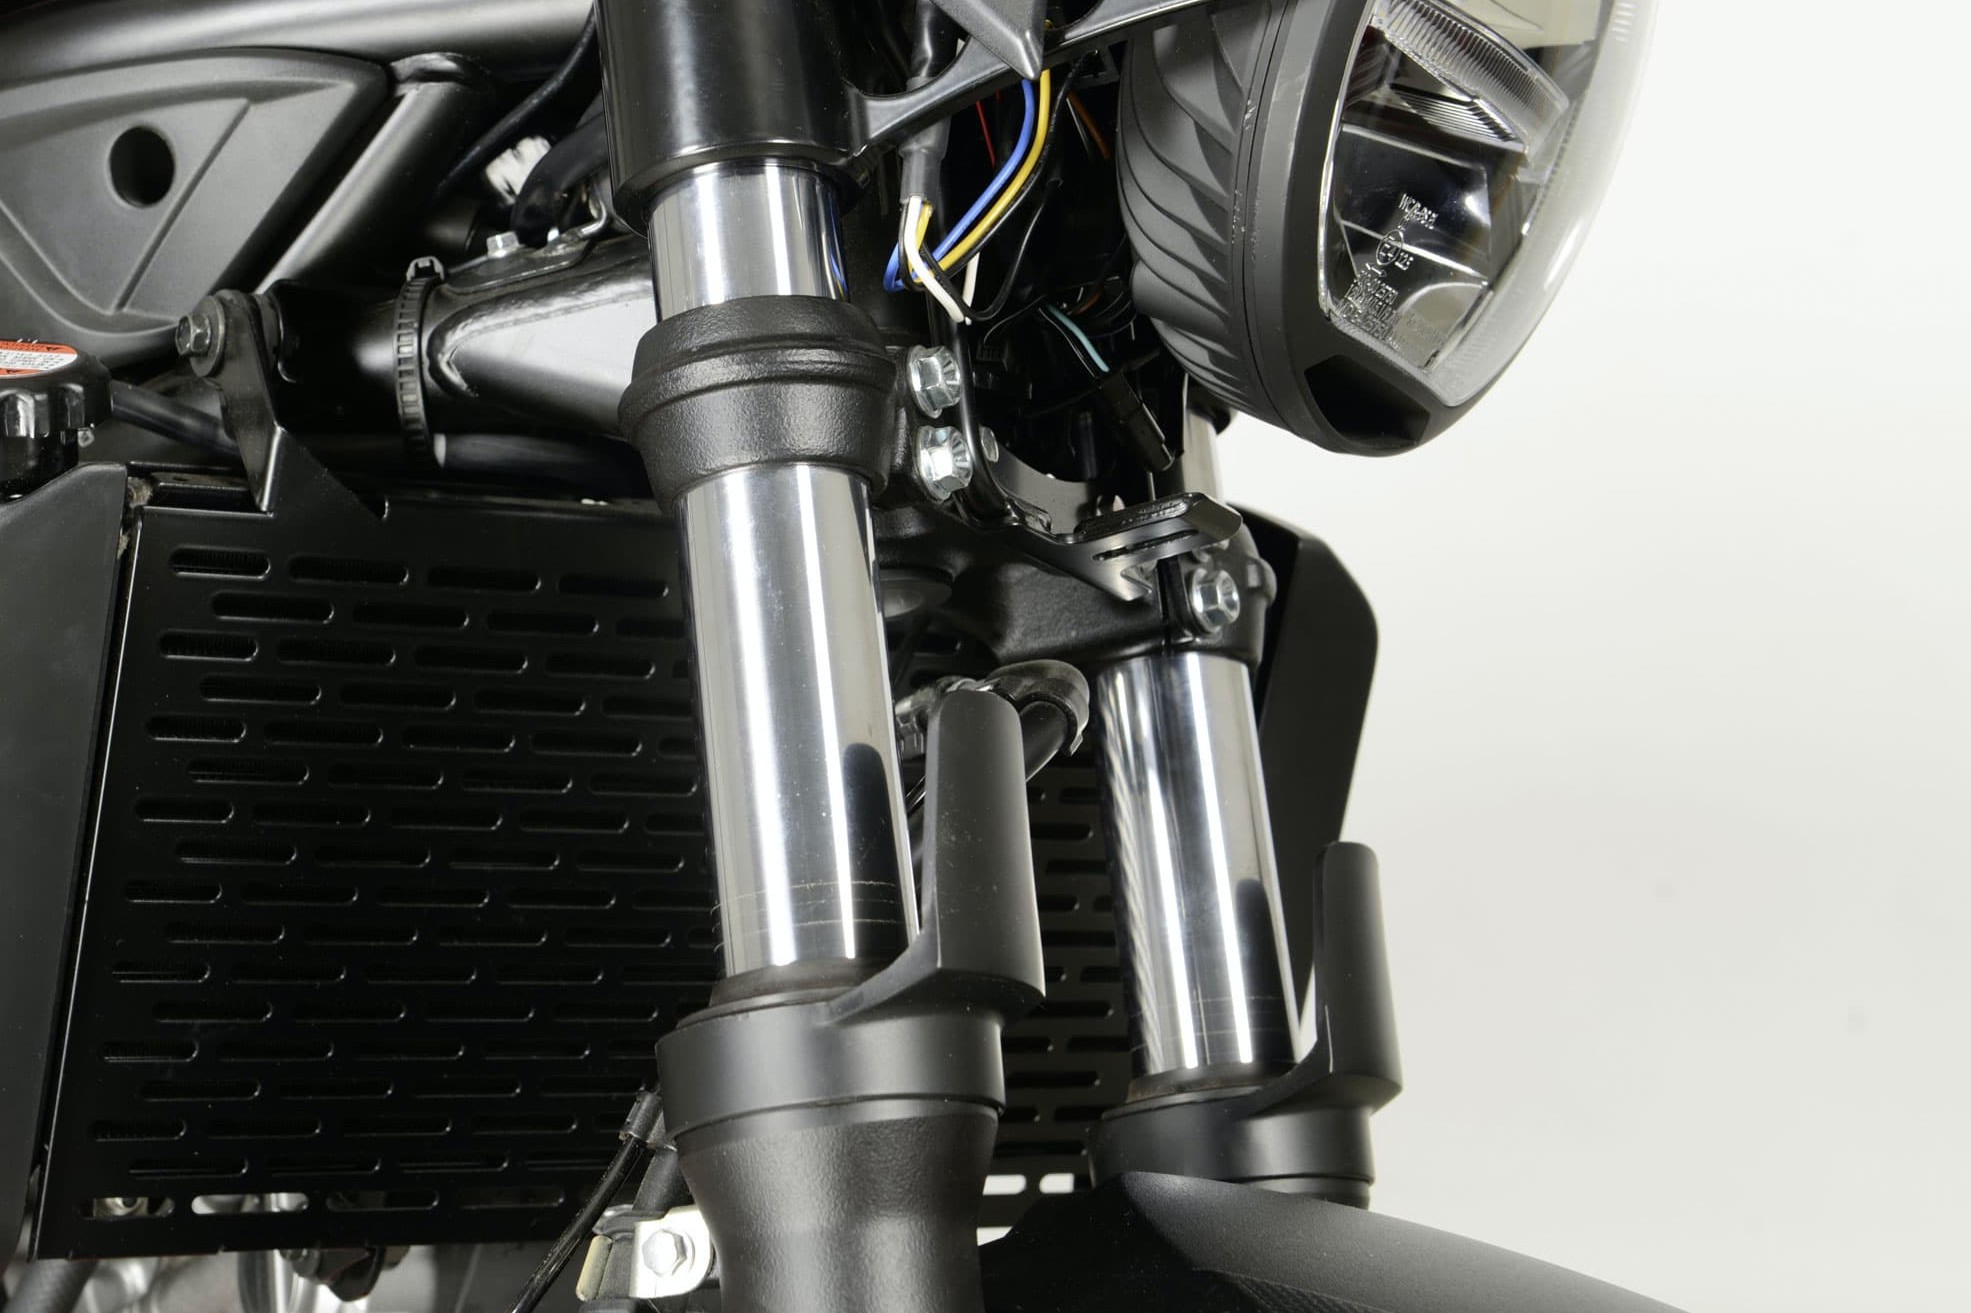
Step 6: Is the fork still oil-tight?
06 – Check fork oil seal rings
Check the fork seals to make sure they are still tight. If there is any evidence of oil leaks, change the seals. Replace the fork oil at the same time. The start of the season is a good time to do this.
Otherwise, the oil change interval specified by the vehicle manufacturer applies (see section Fork Seals in our DIY tips).
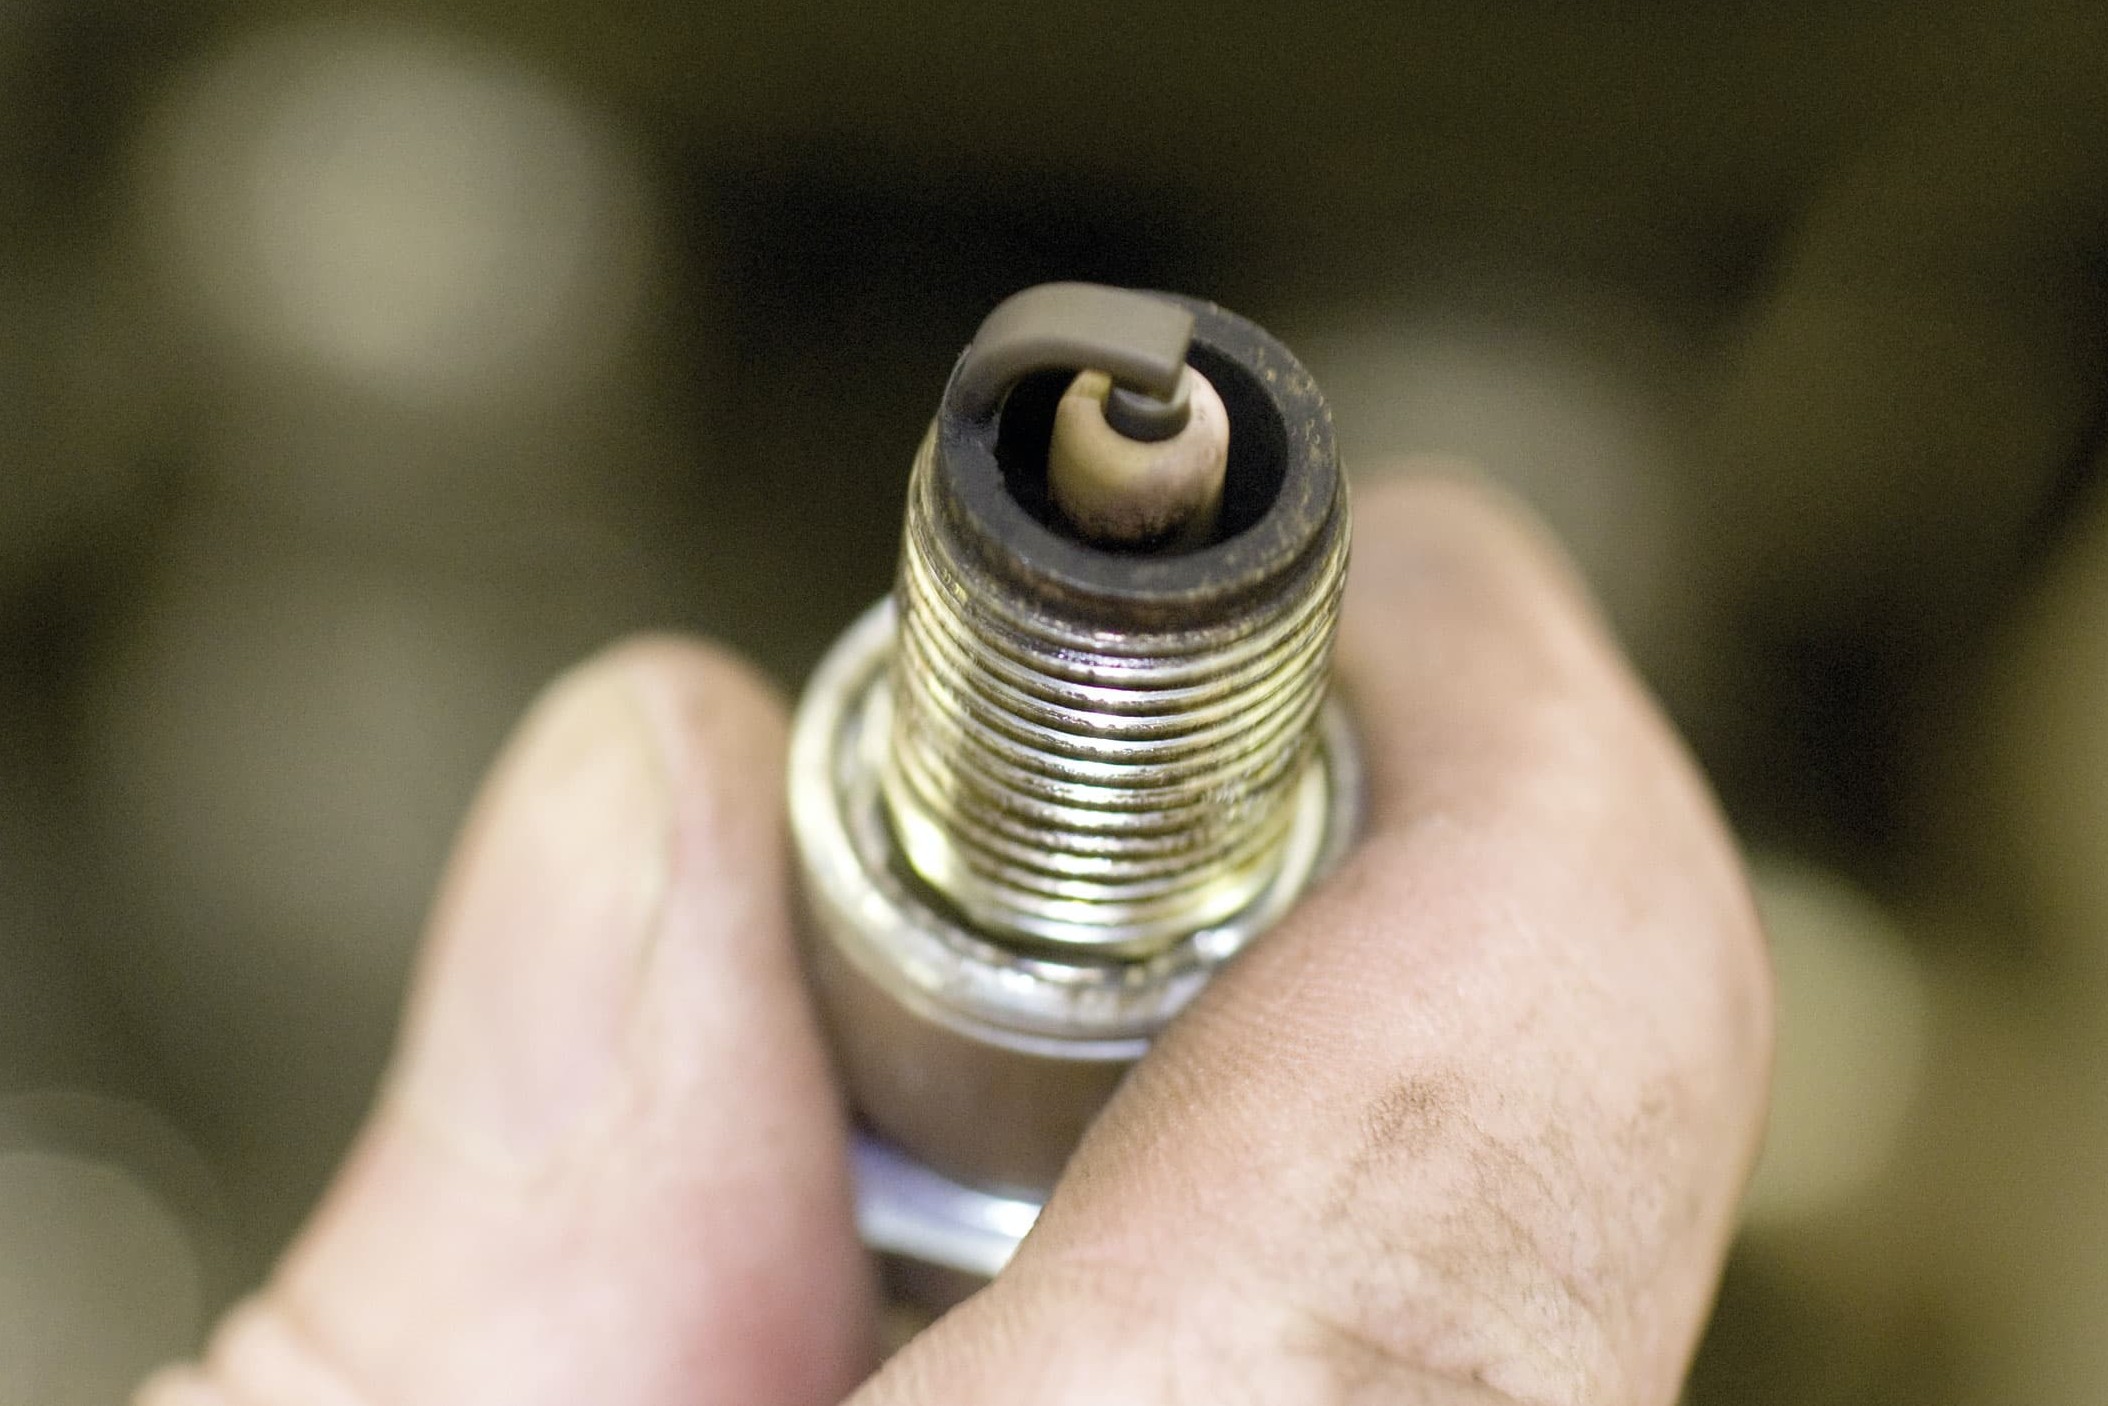
Step 7: The spark plug should have a light brown dry appearance
07 – Check spark plugs
Replace spark plugs after approx. 10,000 km and paper air filters after approx. 10,000 - 18,000 km (see the vehicle manufacturer's service instructions). Spark plug connectors also age and can cause malfunctions – preventive replacement can safeguard against breakdowns.
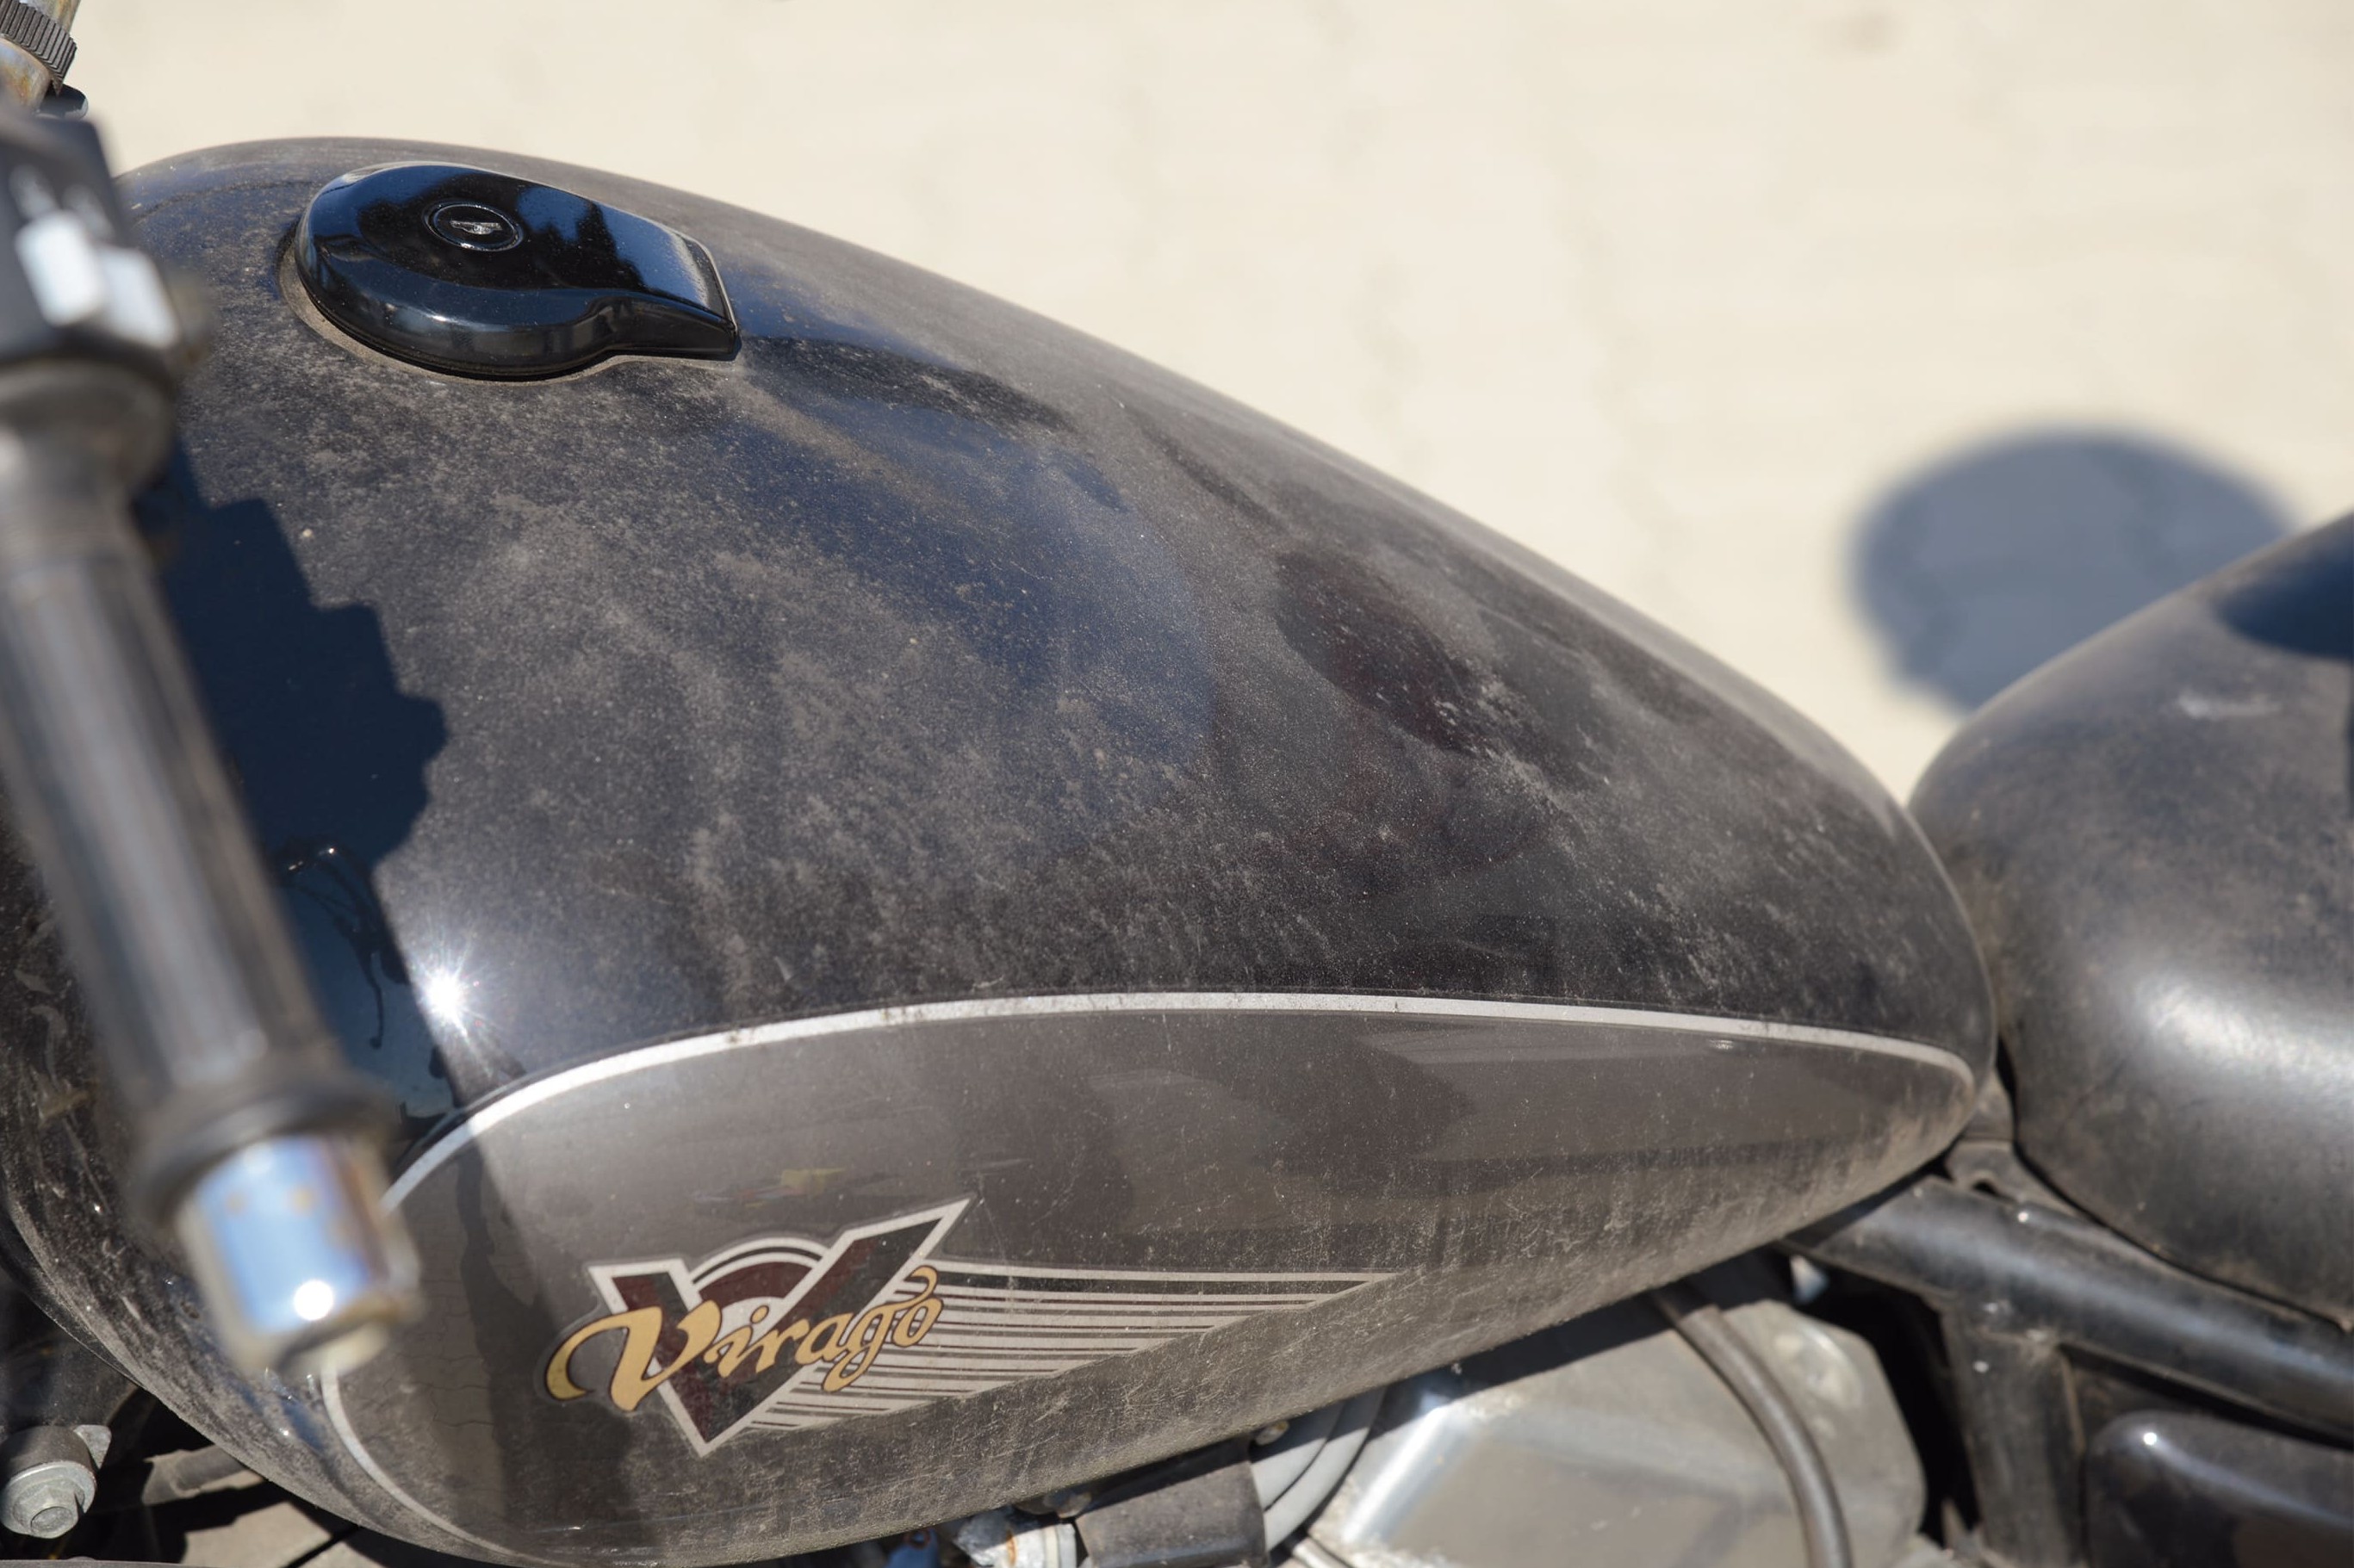
Step 8: Remove dirt
08 – Remove dirt
The winter months also bring the risk of rust, so now is the time to check your bike thoroughly and tackle any corrosion. If you forgot to do it prior to "winterising" your bike, thoroughly lubricate the levers and all joints.
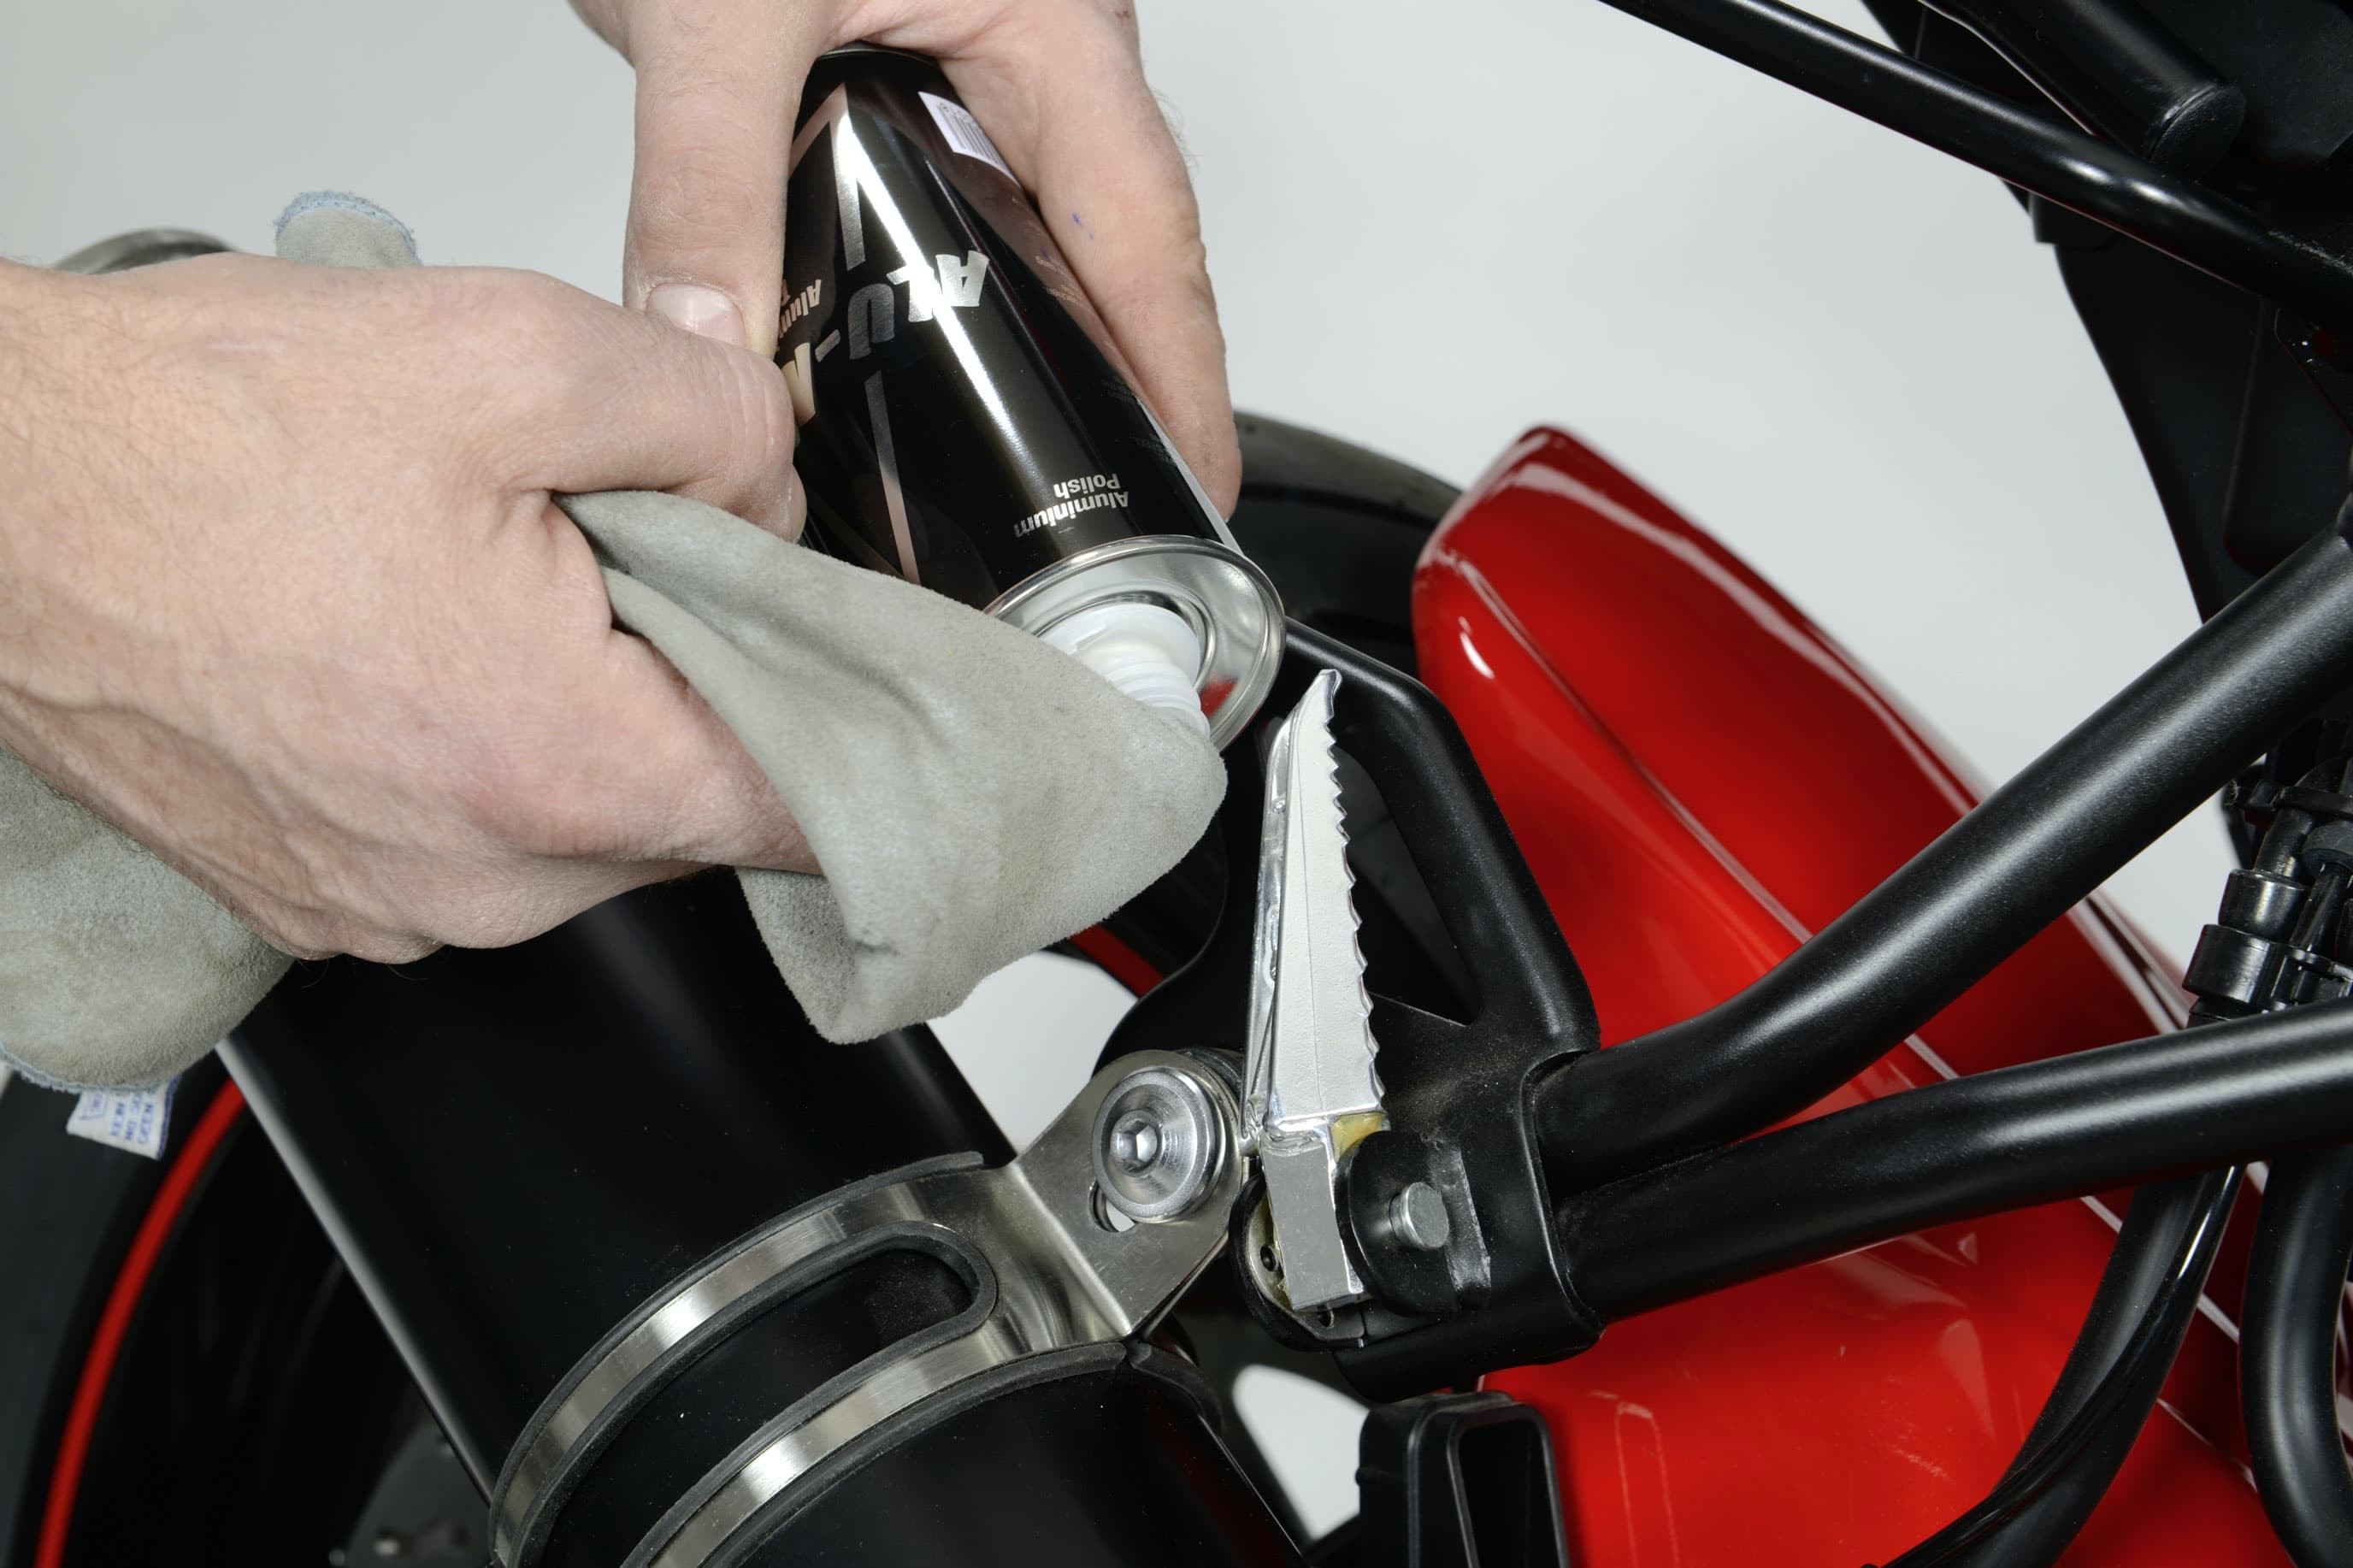
Step 9: Remove rust and signs of corrosion
09 – Remove rust
Get rid of any pockets of rust using sandpaper or a wire brush, then prime with a coat of rust protection paint, and finish, e.g. with touch-up or spray paint. Remove any rust on chrome parts using chrome polish, and AluMagic polish is great for treating any signs of corrosion on unpainted aluminium.
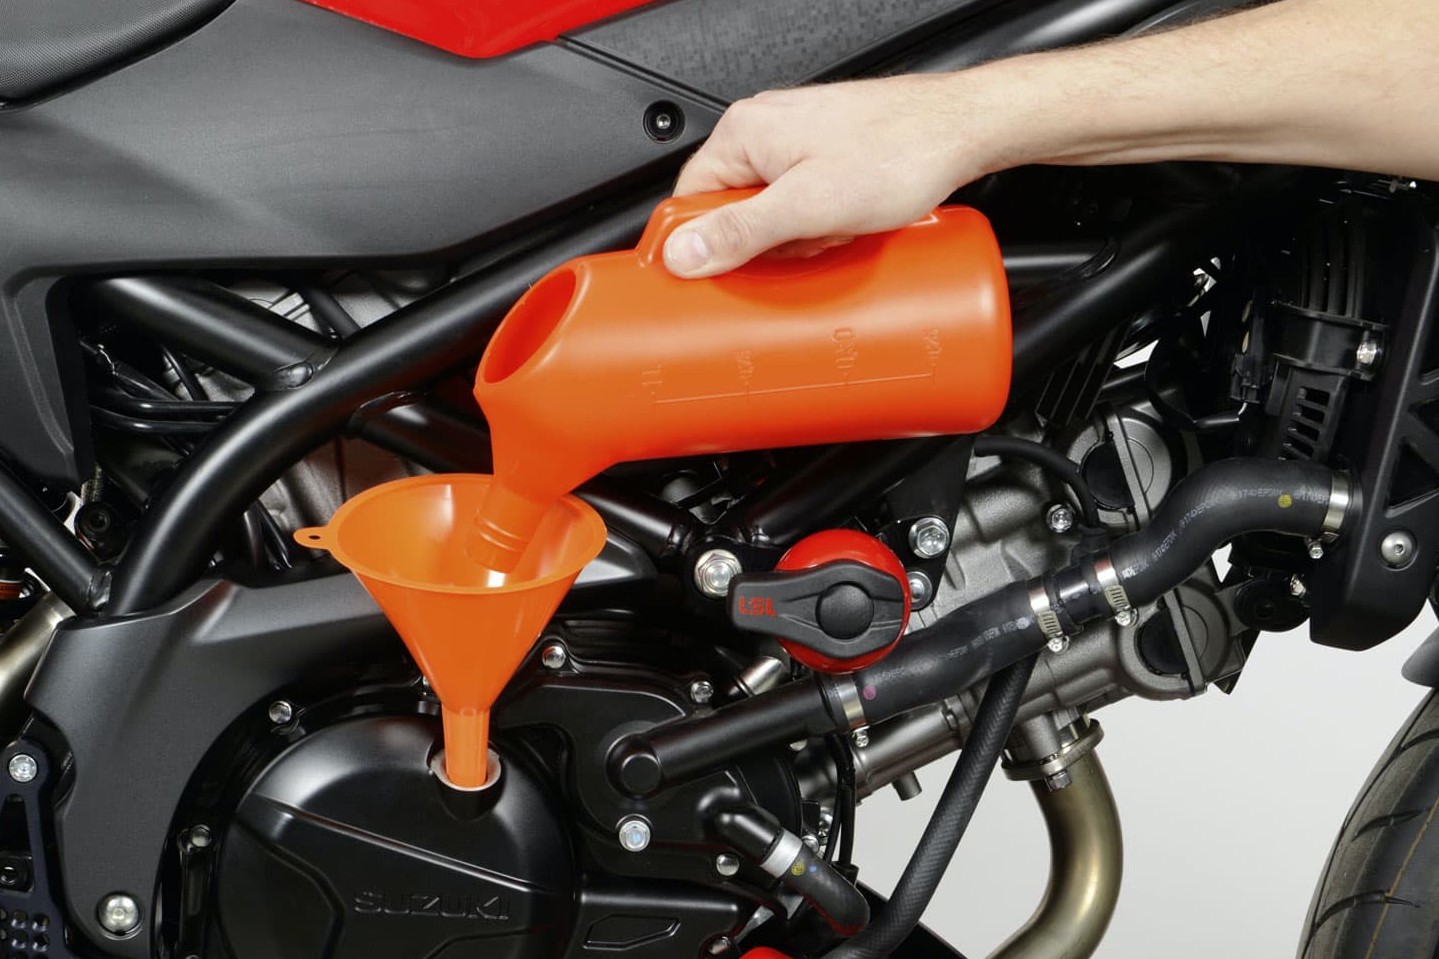
Step 10: Fresh oil for the engine
10 – Oil change
If you didn't change the oil and oil filter in autumn, then you really shouldn't be putting this off any longer see Oil change in our DIY tips. And frequently: Check oil level.
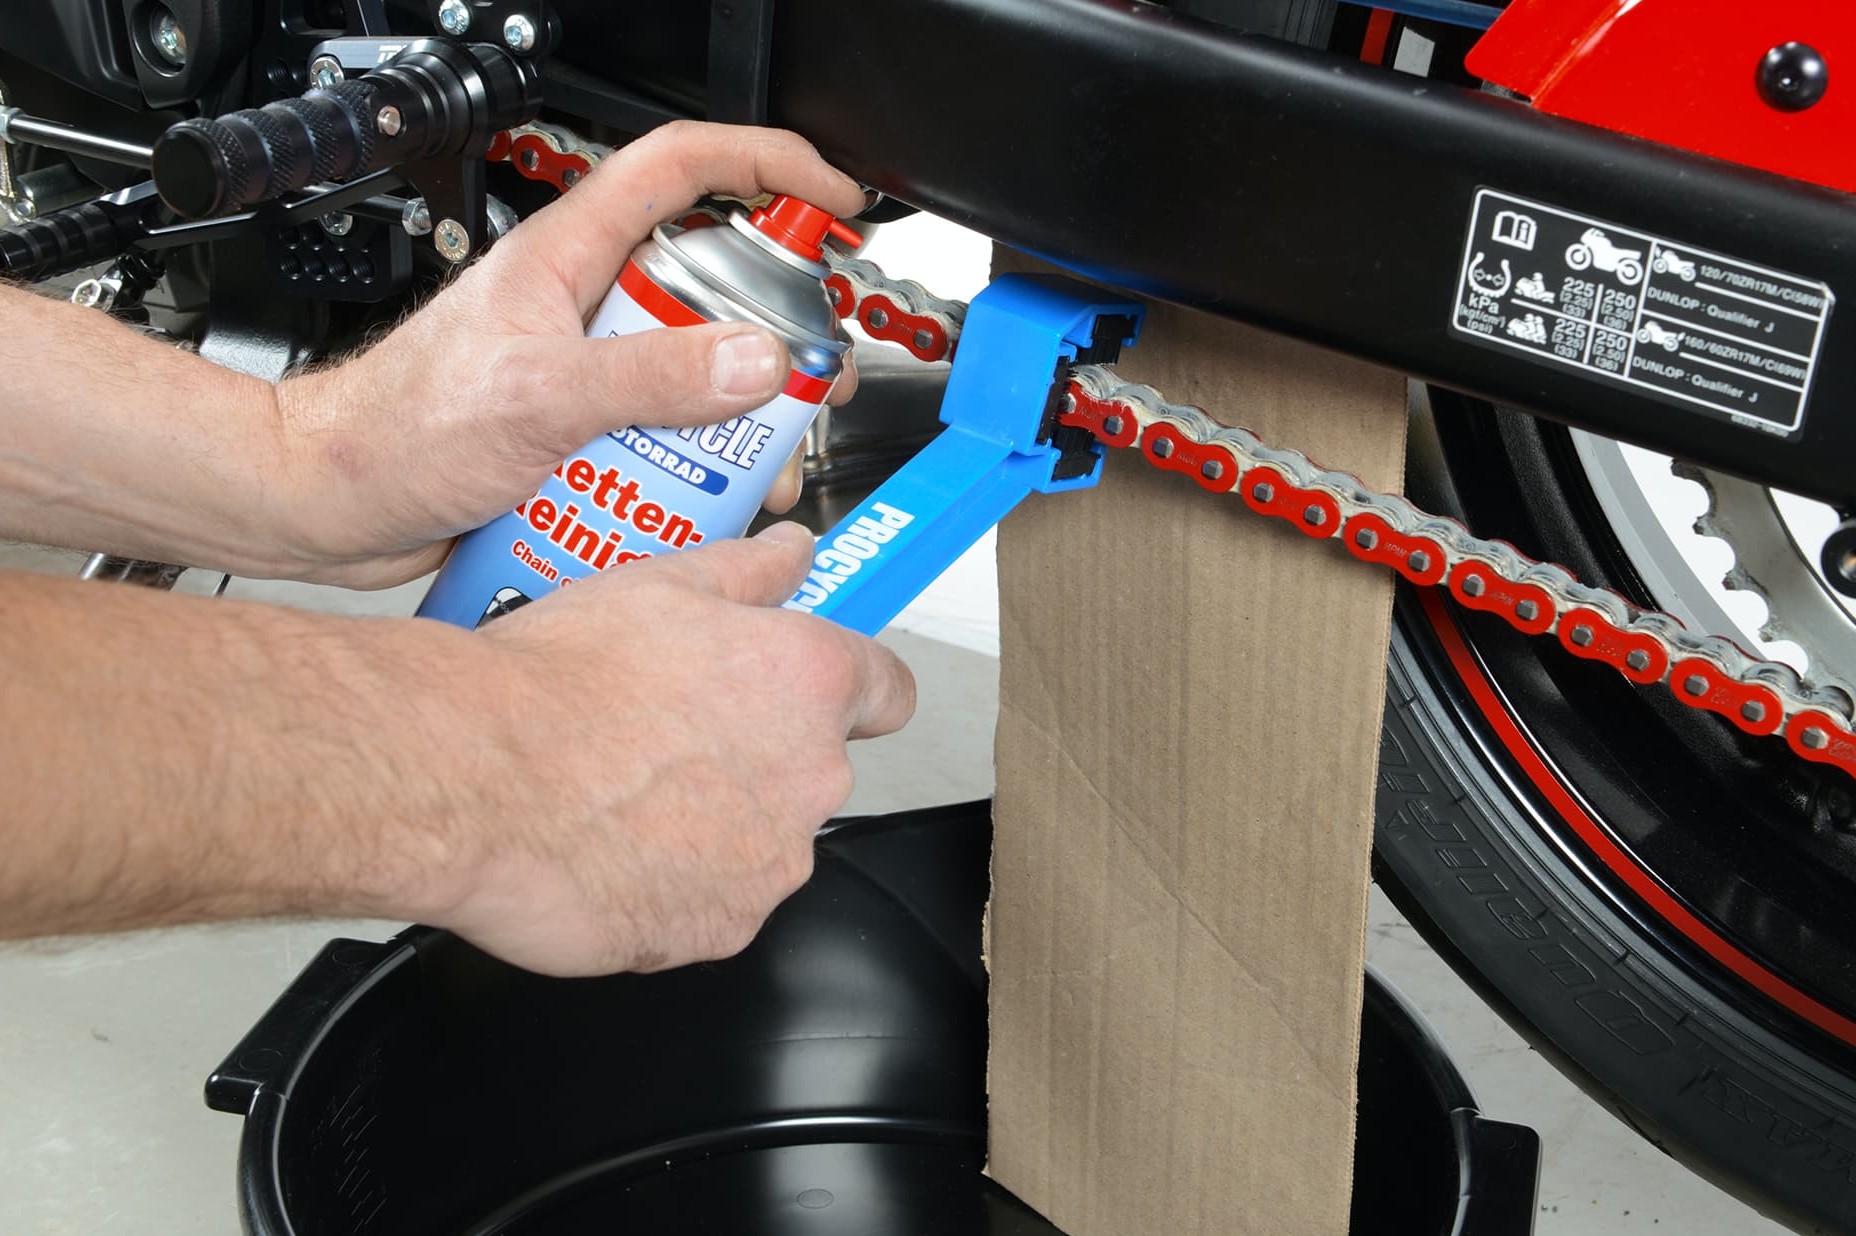
Step 11: Clean, lubricate and, if necessary, tension the drive chain
11 – Clean drive chain
The drive chain should be cleaned, sprayed with chain oil and the tension checked. Adjust the chain tension, if necessary, according to manufacturer specifications. For more on this topic, see Chain maintenance" in our DIY tips.
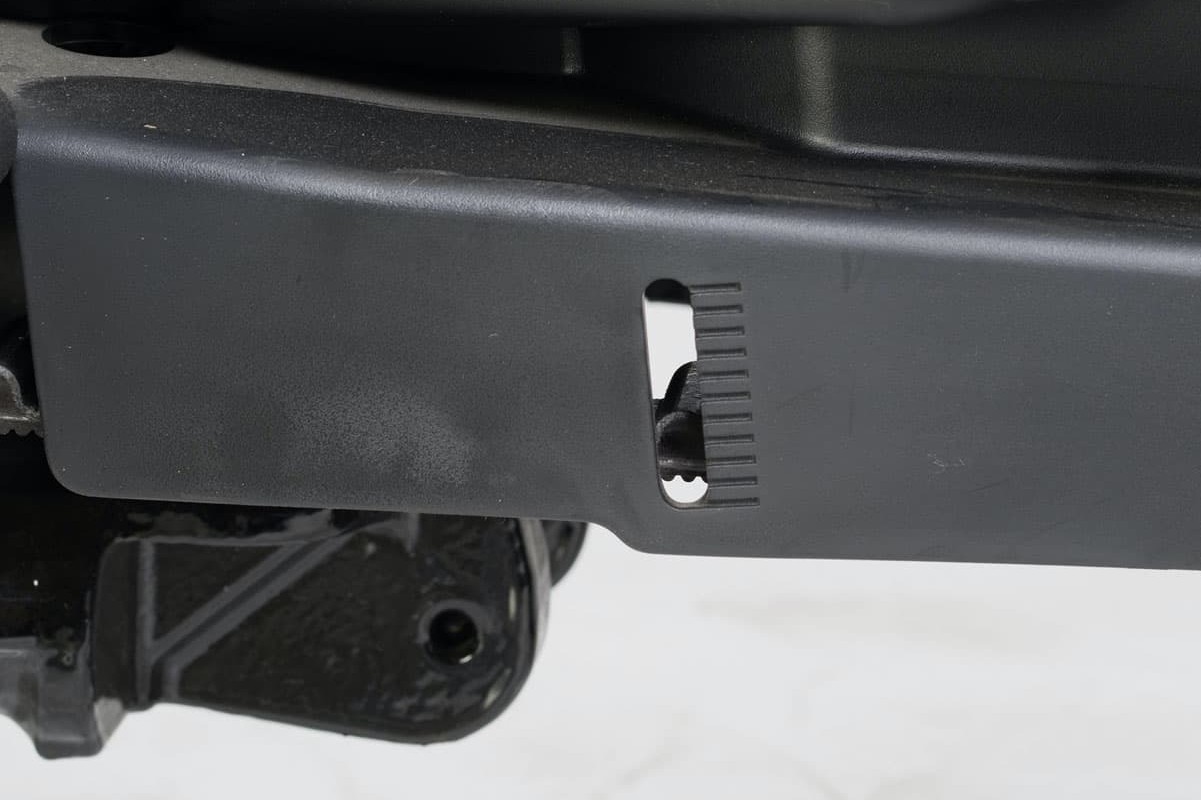
Step 12: Check belt tension
12 – Check belt tension
If your motorcycle is equipped with a belt drive, make sure it is clean and free of sand or small stones. It can be cleaned with a soft brush. Check the belt tension according to manufacturer specifications and adjust if necessary.
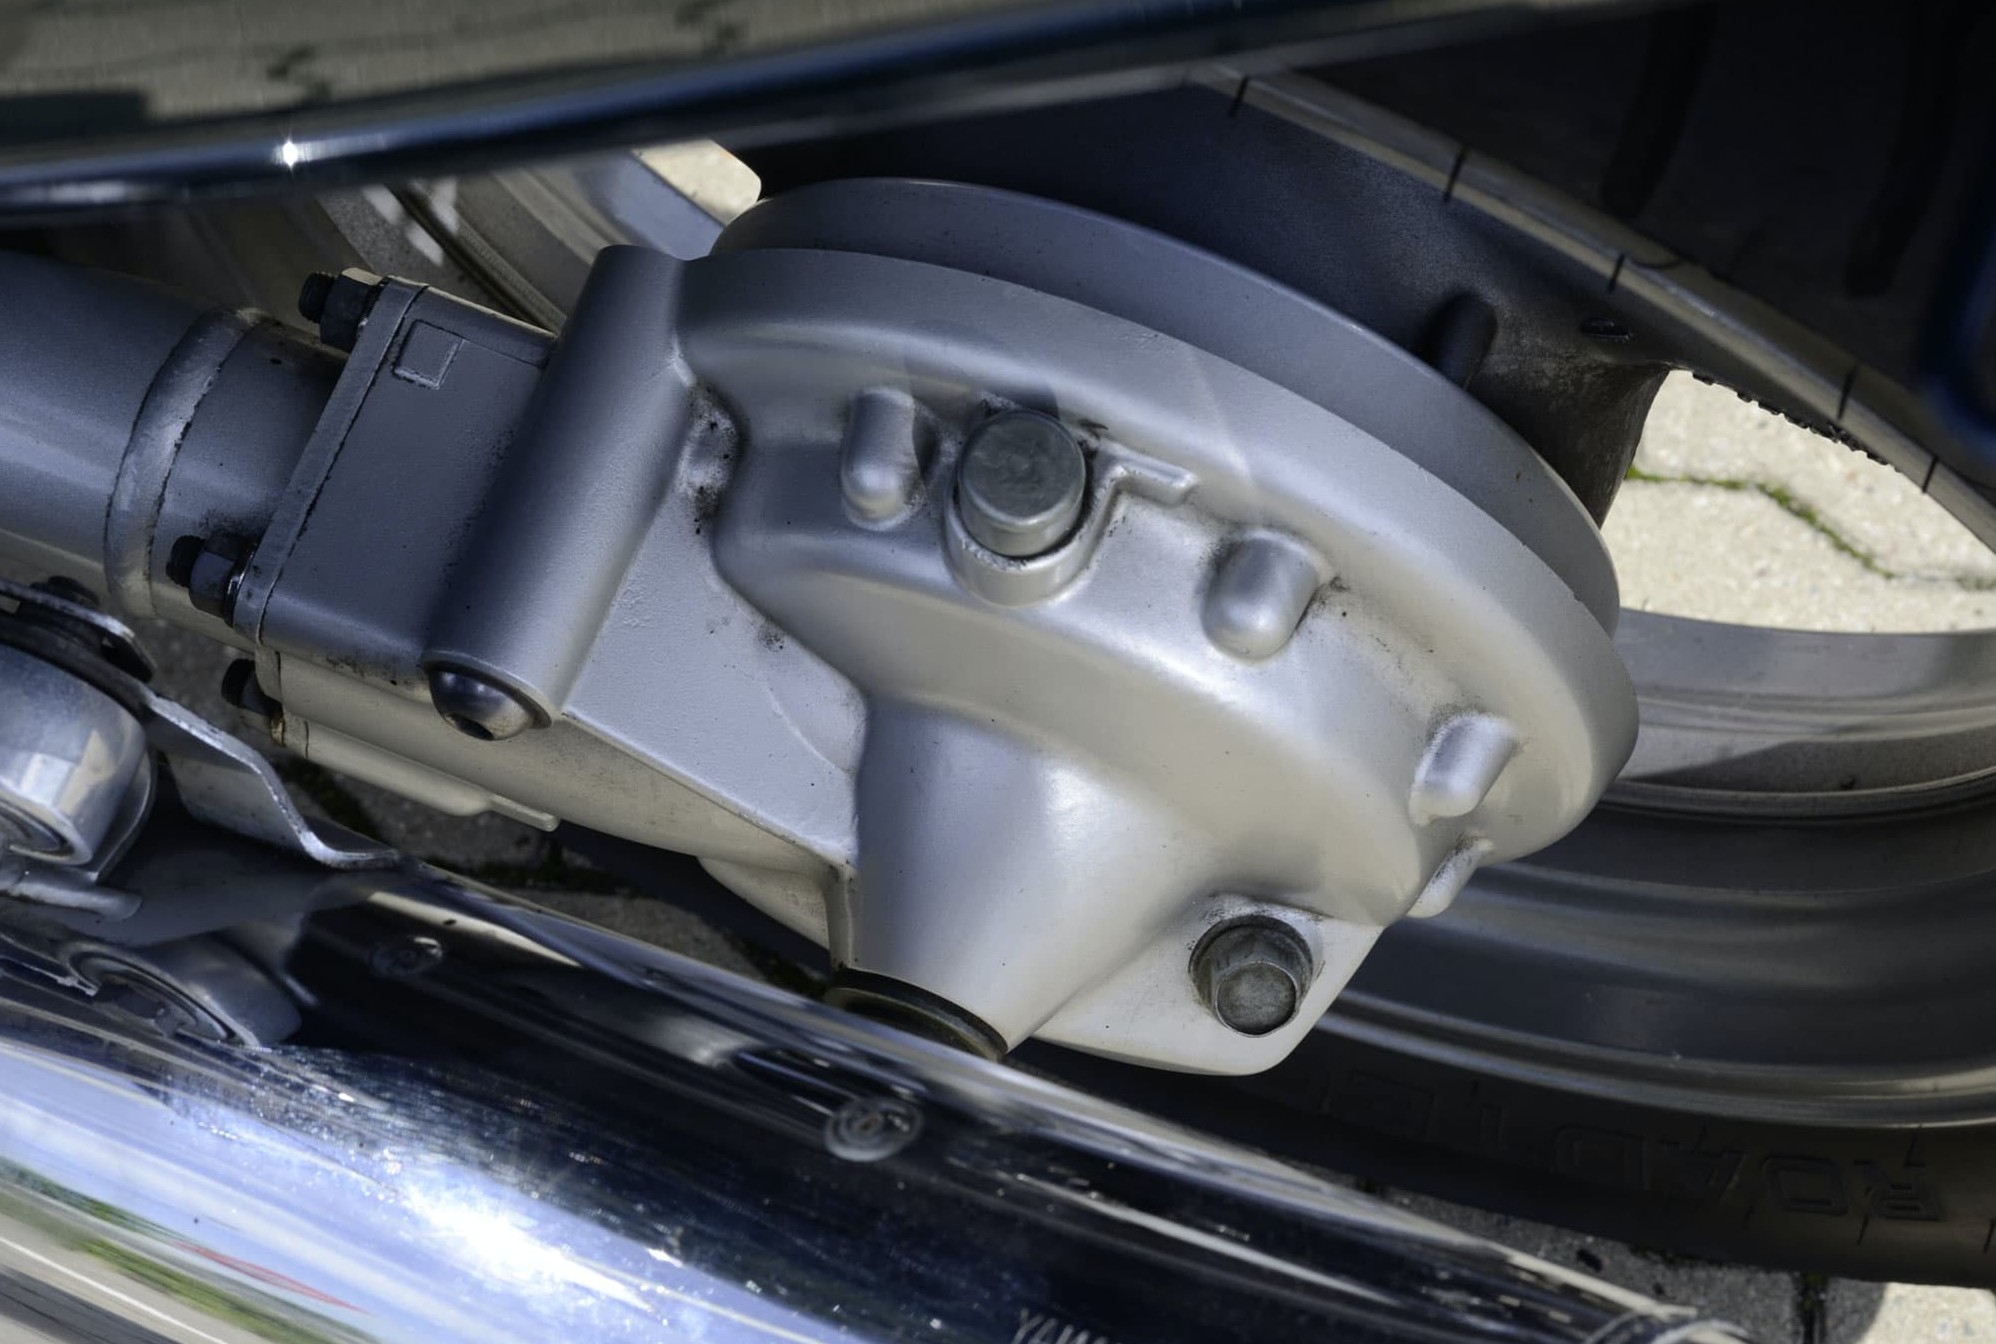
Step 13: Check the driveshaft oil level
13 – Check the driveshaft oil level
If your vehicle has a driveshaft, check the oil level. If necessary, fill with suitable driveshaft oil.
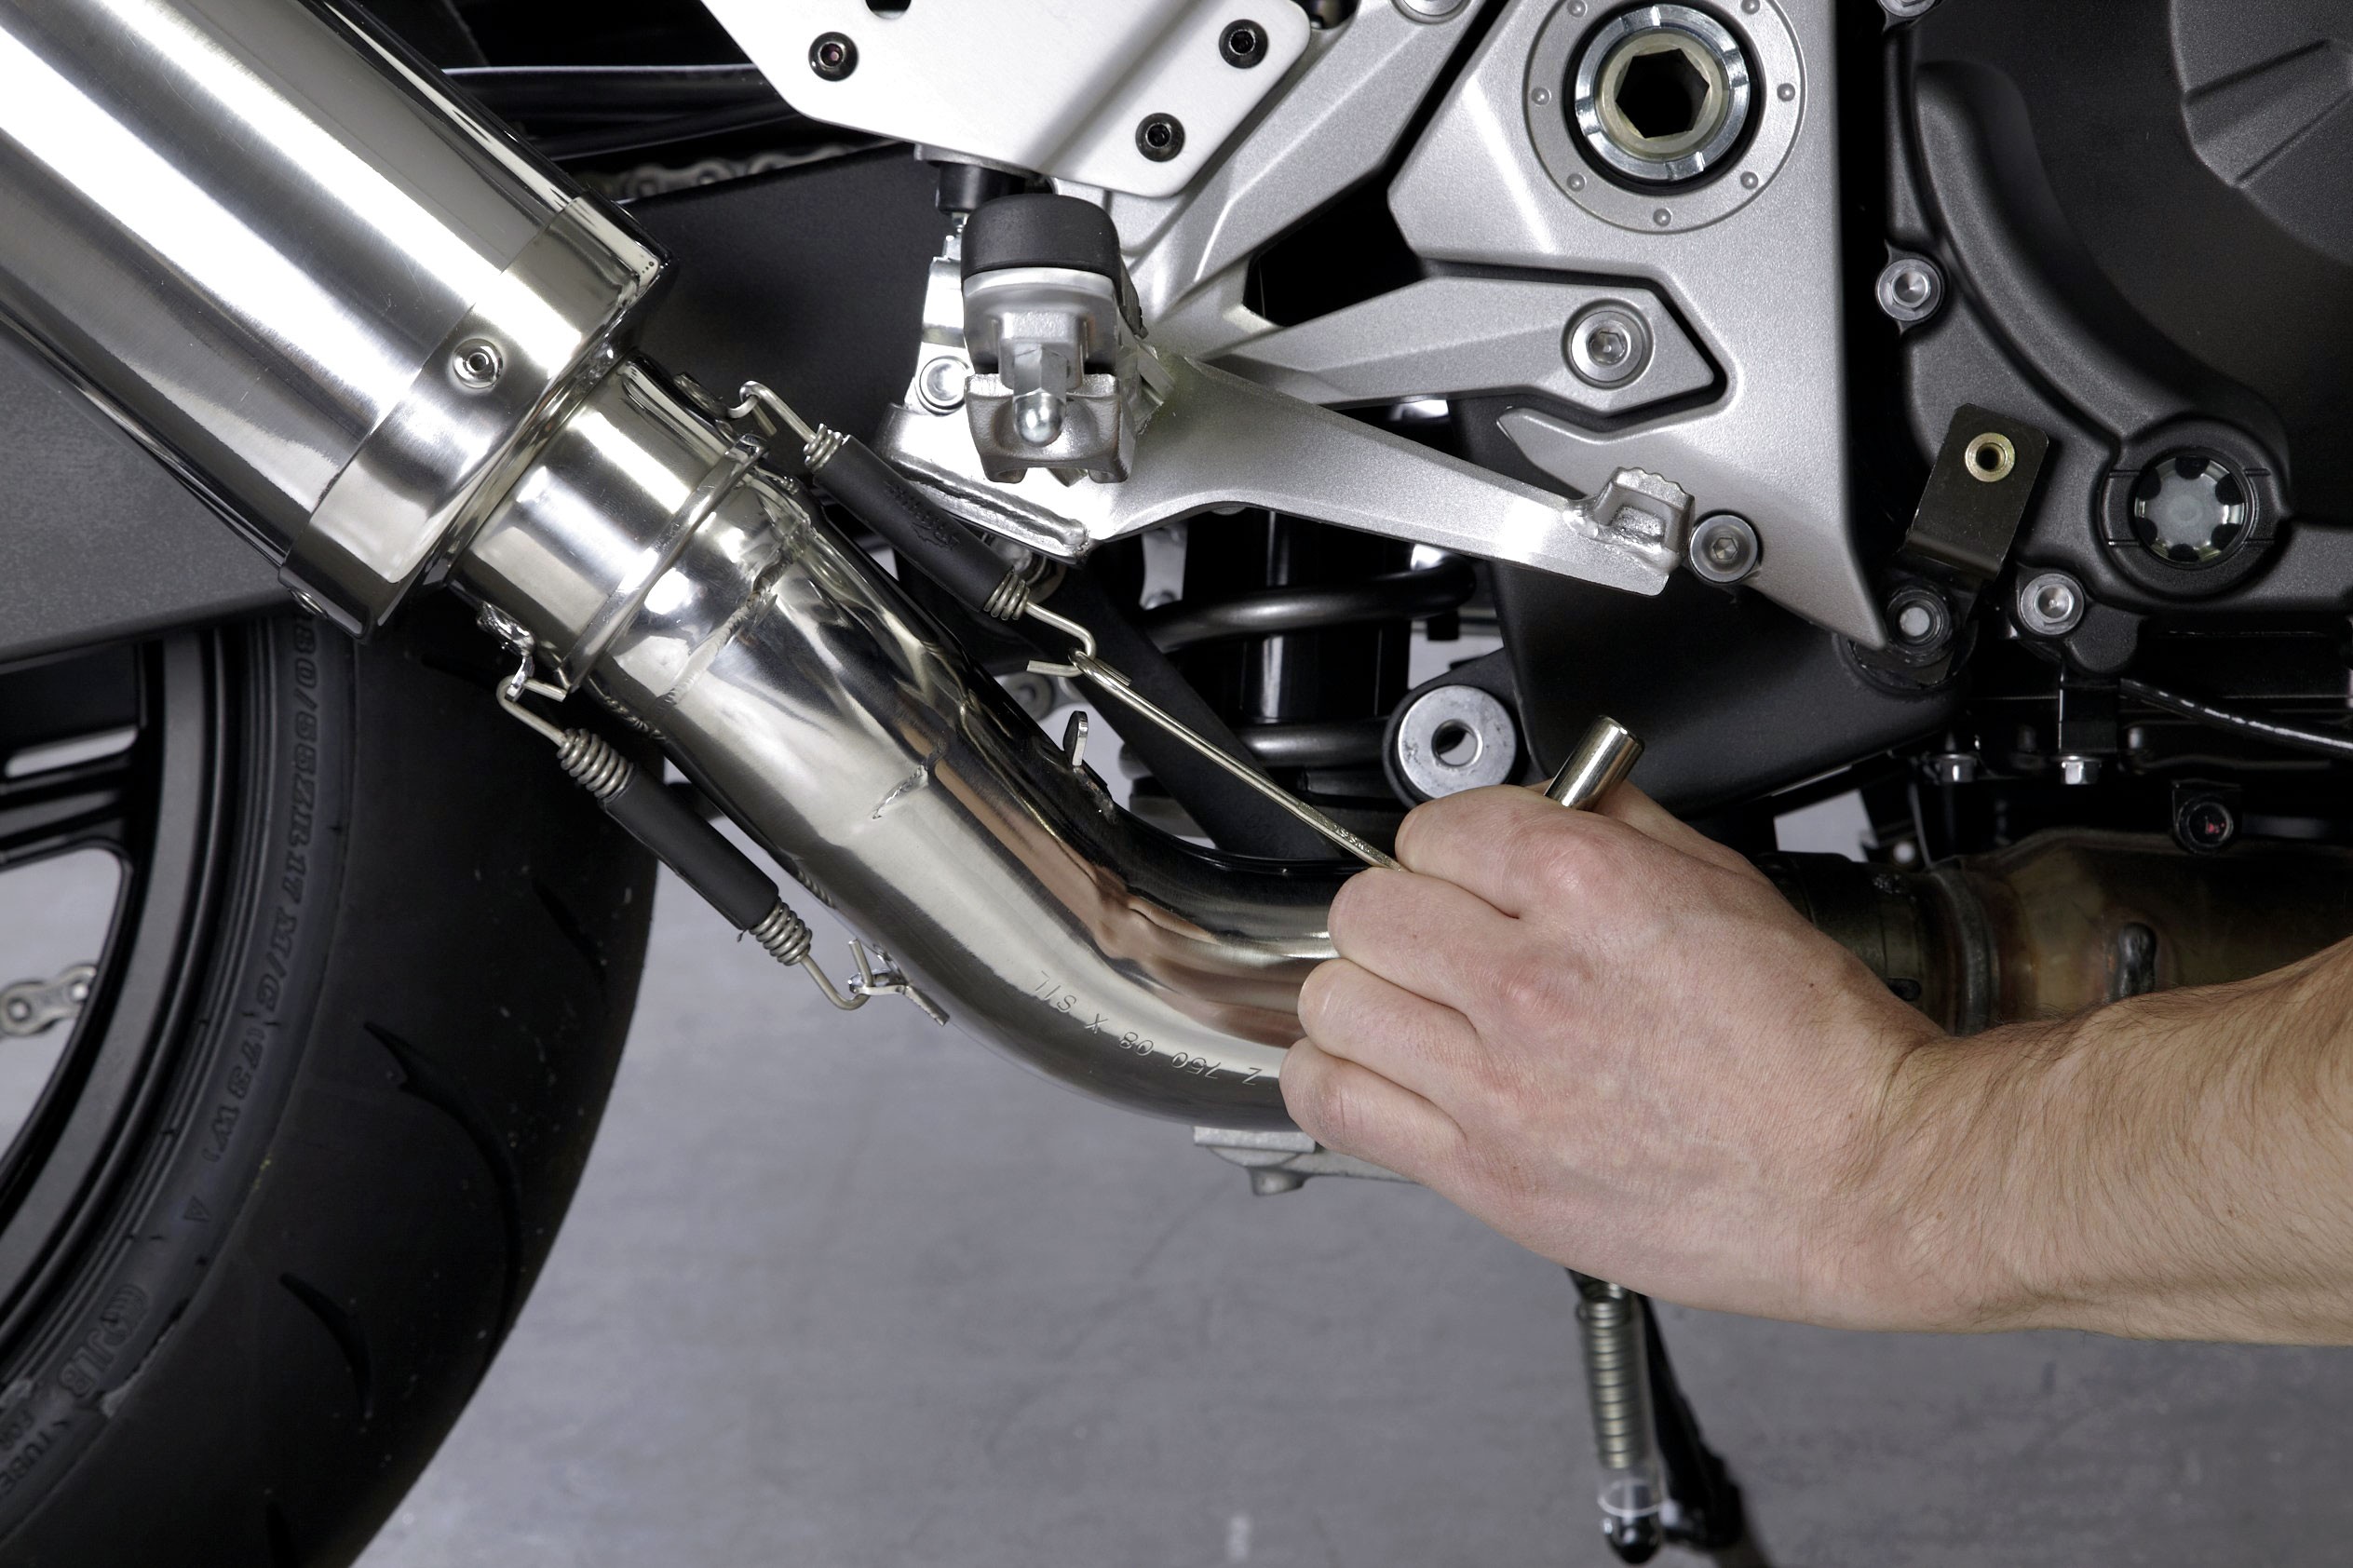
Step 14: Tighten the exhaust system
14 – Tighten the exhaust system
The exhaust system and connections must be secure and tight. Leaks can lead to damage to the catalytic converter and silencer.
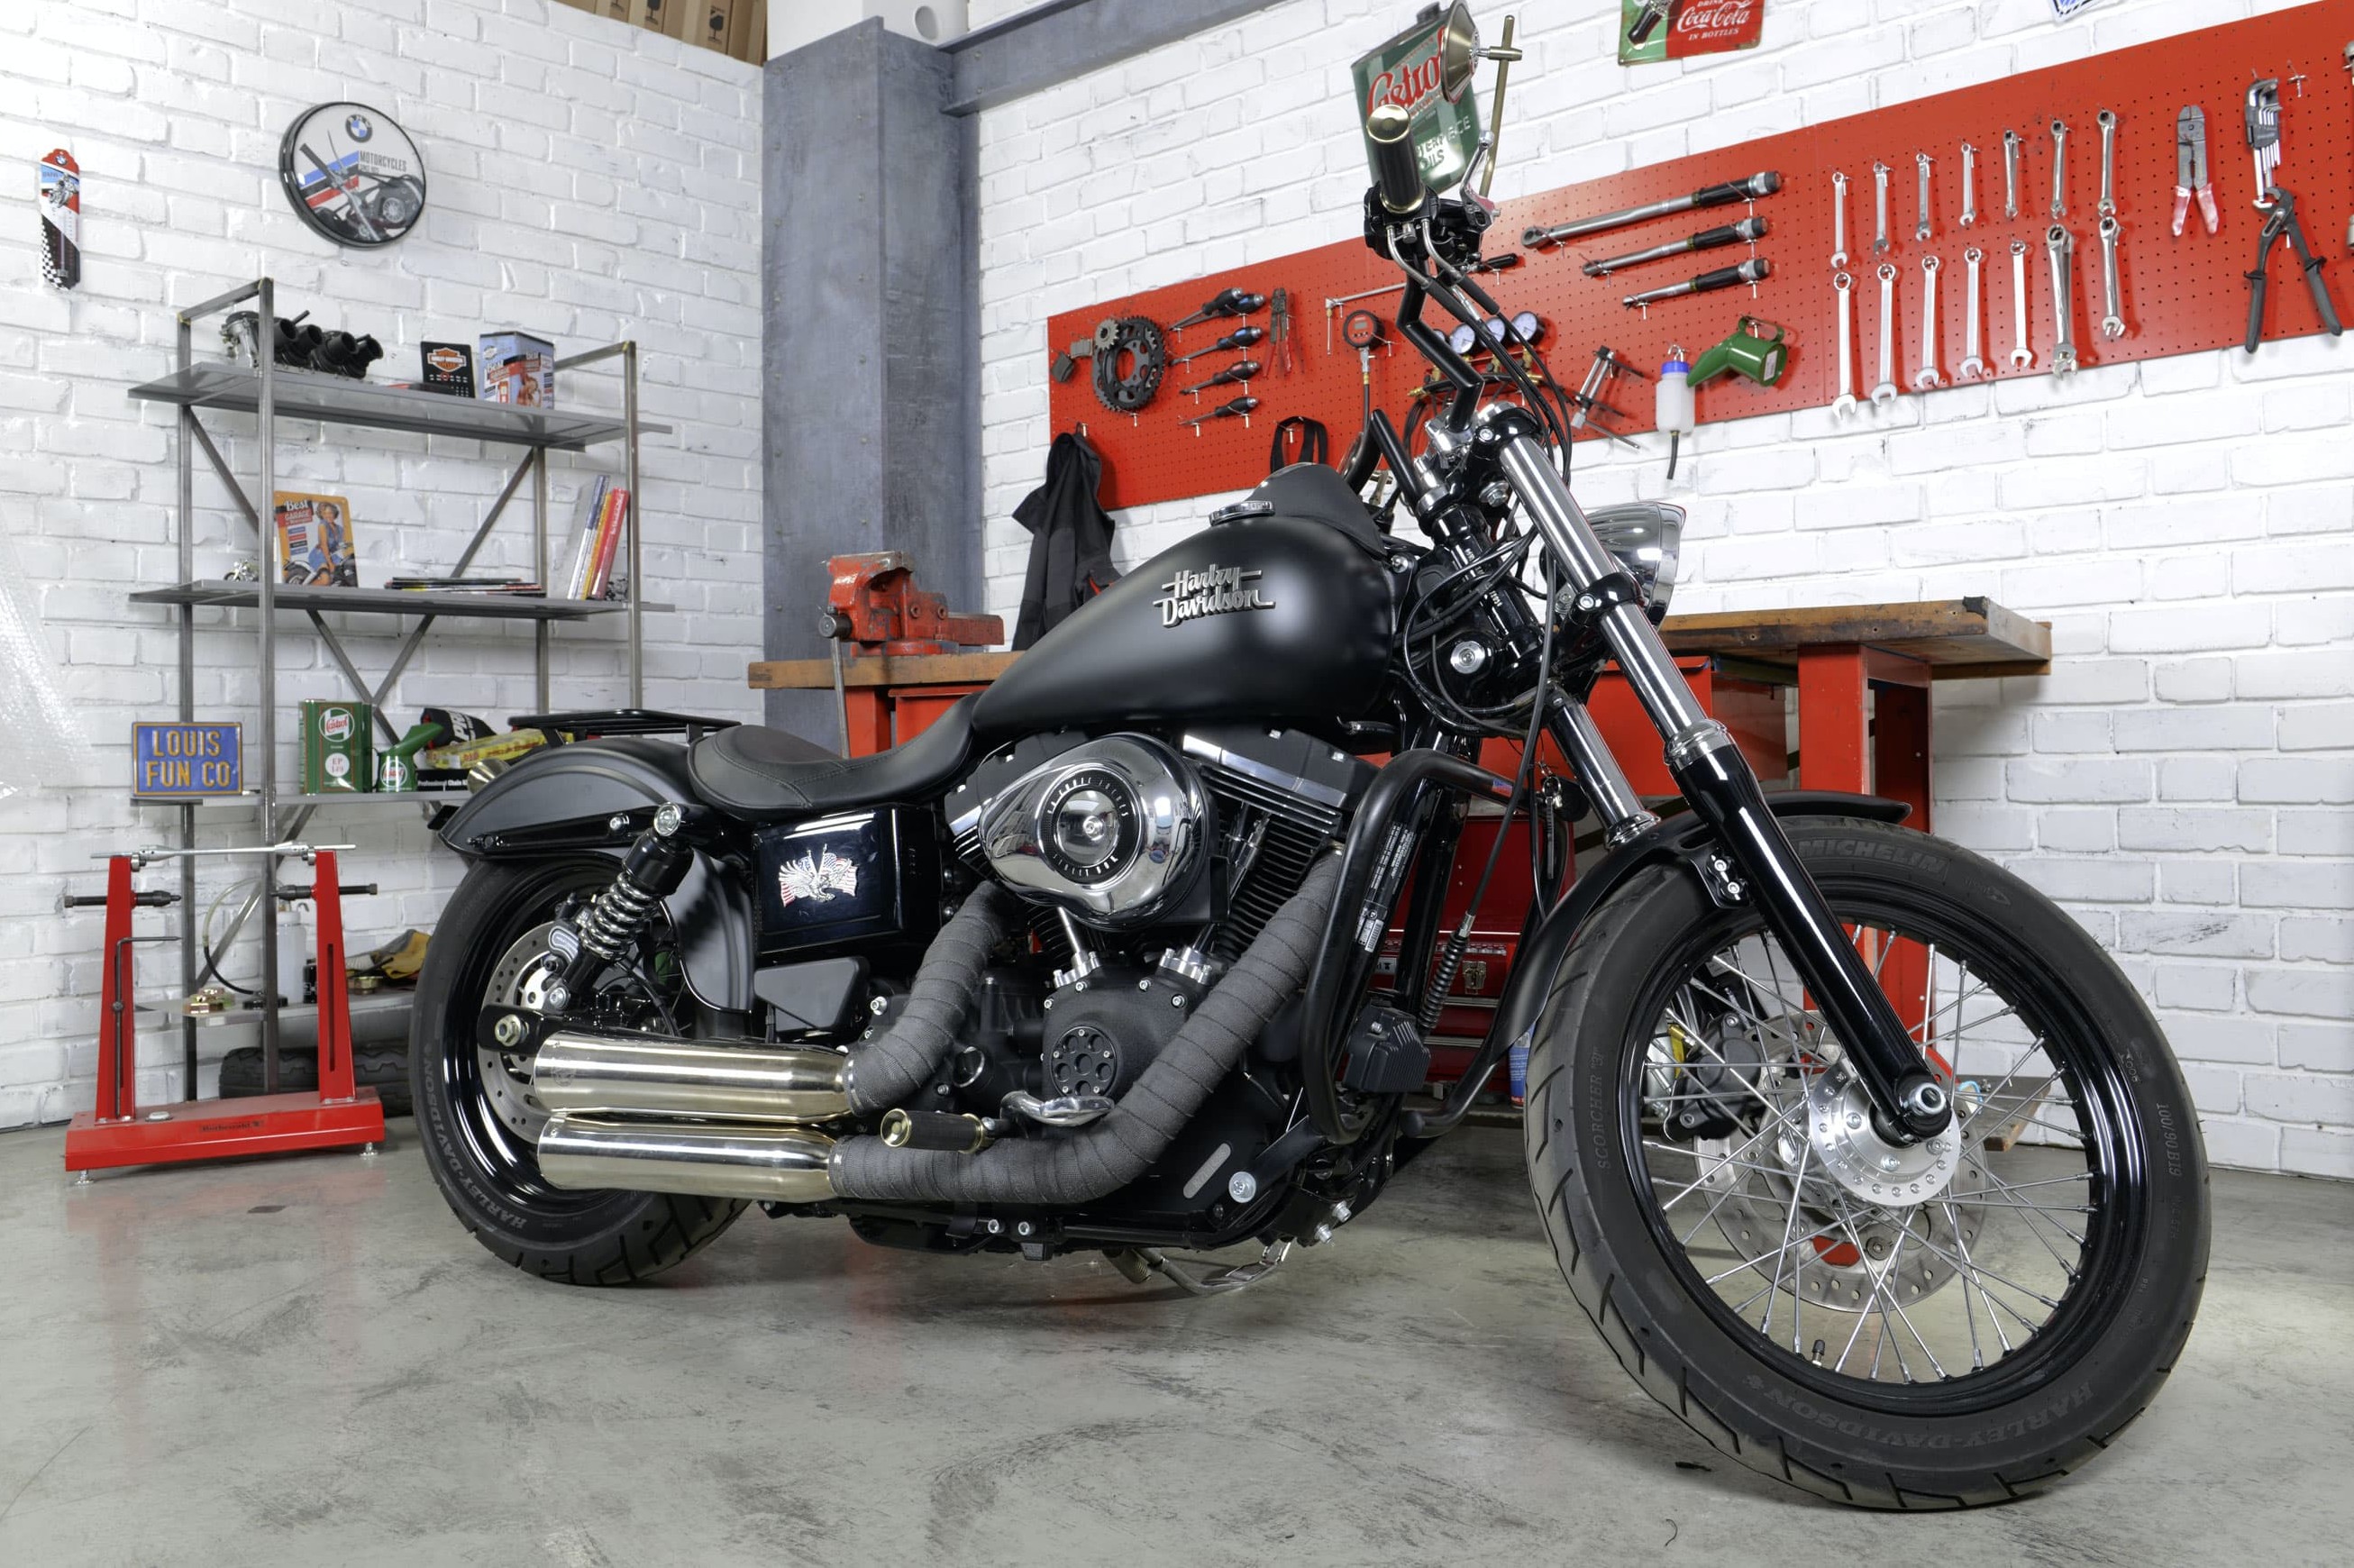
Step 15: Inspect front fork and rear shock absorber
15 – Inspect front fork and rear shock absorber
Check for effective compression and rebound of the front wheel fork and rear wheel shock absorber and make sure they also absorb impacts without "bouncing". In doing so, you should also check for the telltale sign of a leak; a film of lubricant.
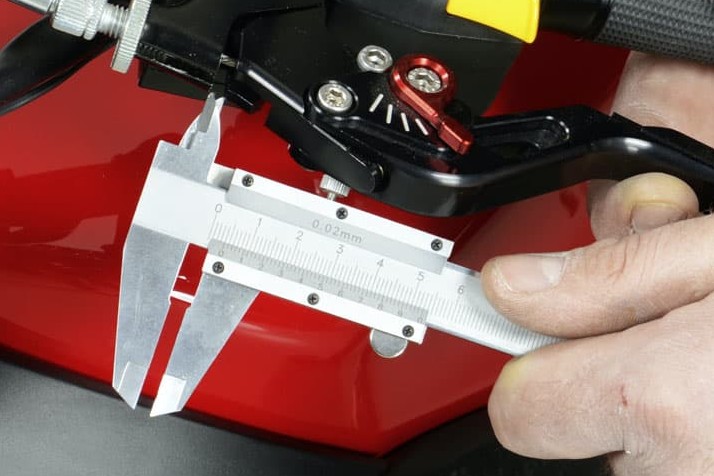
Step 16: Check the play in the throttle and clutch cables
16 – Check the play in the throttle and clutch cables
To check the play of the throttle and clutch cable, move the handlebars slowly all the way to the left and to the right. There must always be play in the throttle twistgrip and clutch lever irrespective of the position of the handlebars.
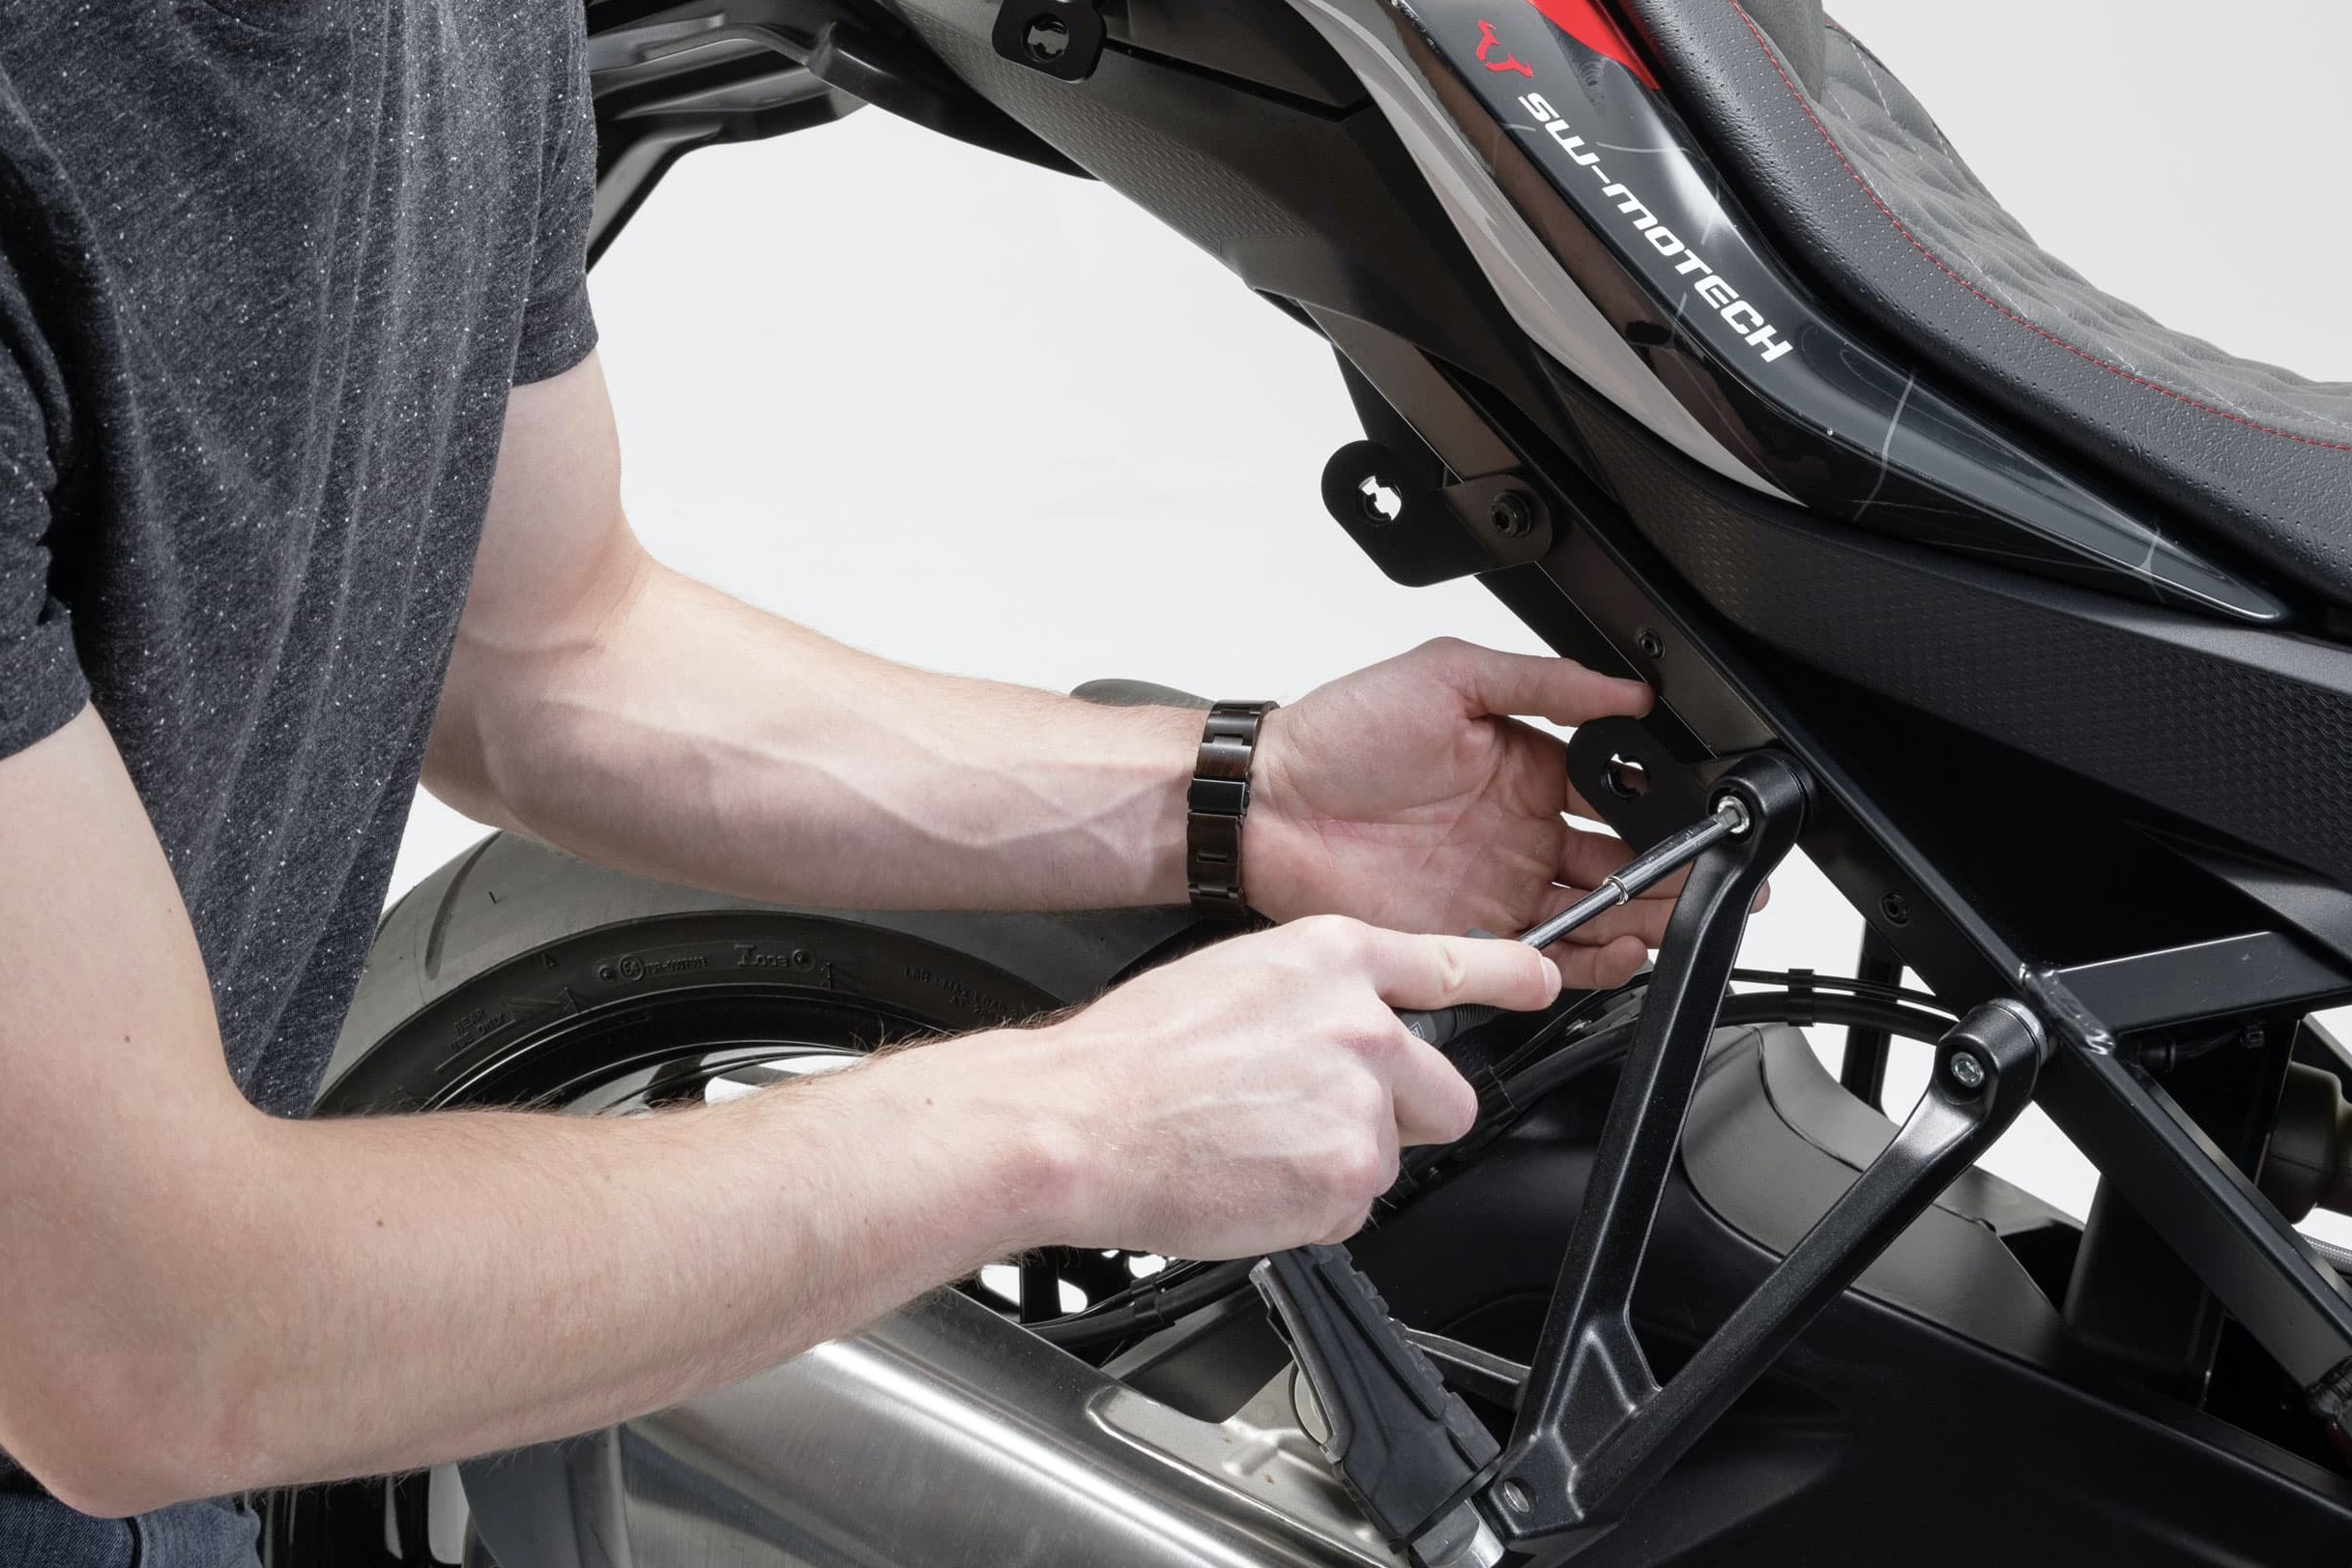
Step 17: Check screws
17 – Check screws
All fastening bolts should ideally be checked to make sure they are secure and, if necessary, retightened to the specified torque. For more on the topic of screws, see Screw Basics in our DIY tips.
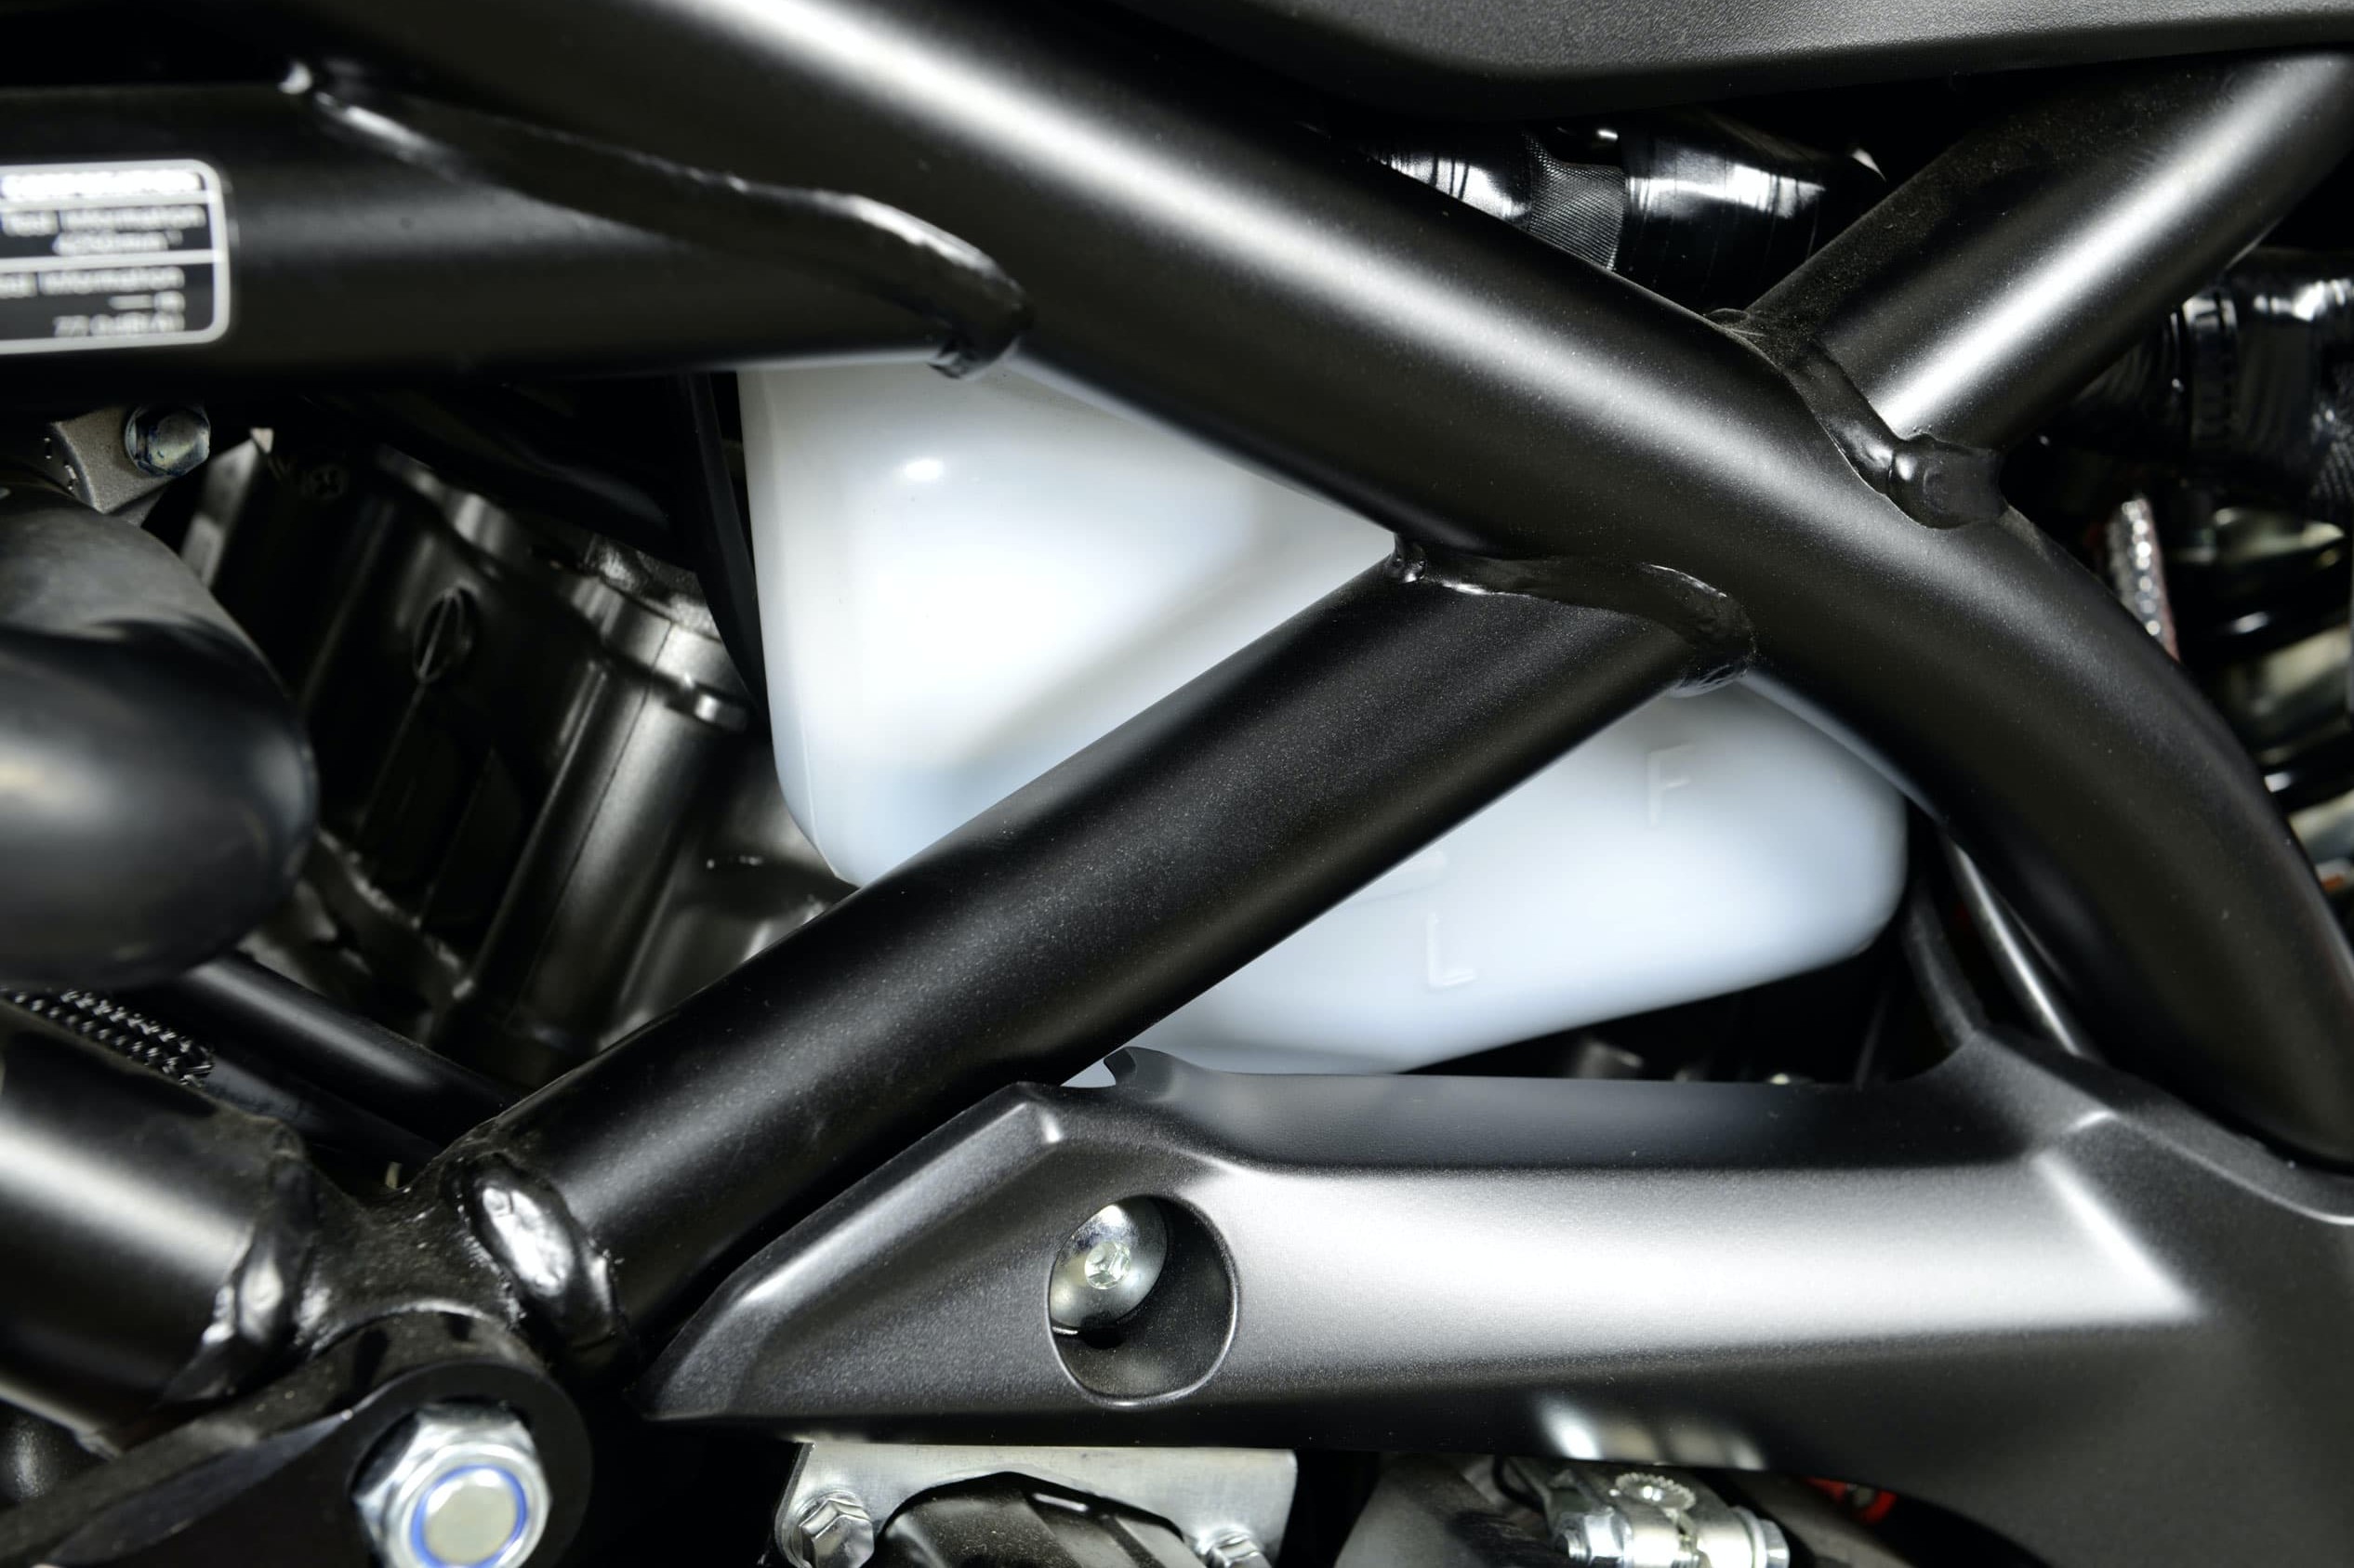
Step 18: Is there enough fluid in the coolant reservoir?
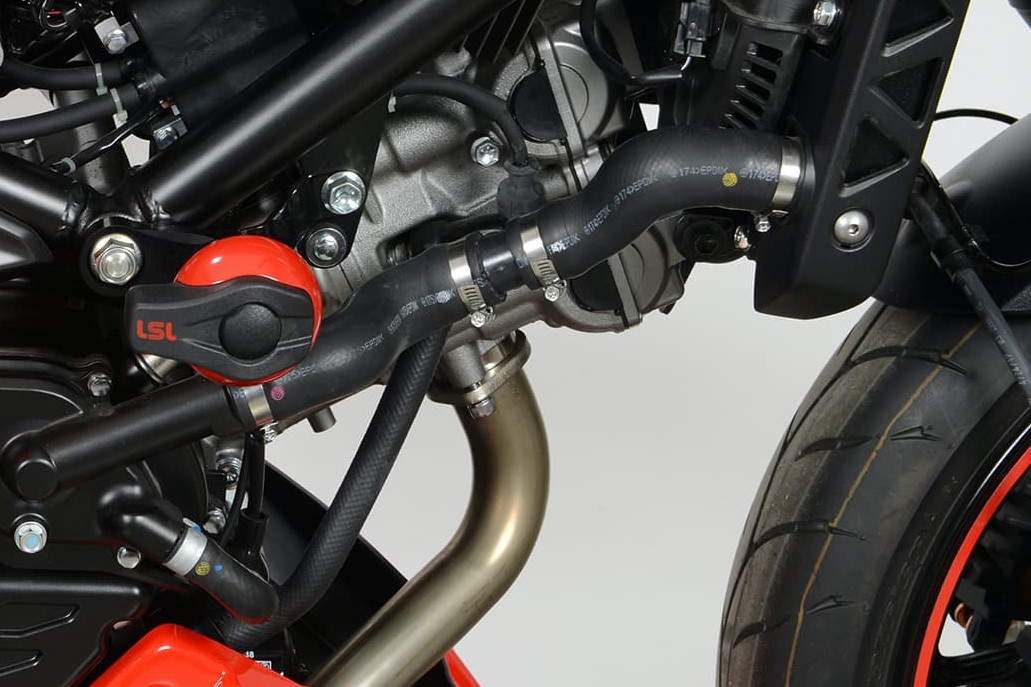
18 – Is there enough fluid in the coolant reservoir?
In water-cooled motorcycles, the fluid level in the reservoir must checked. Also check whether any coolant is escaping from hoses or the cooler.
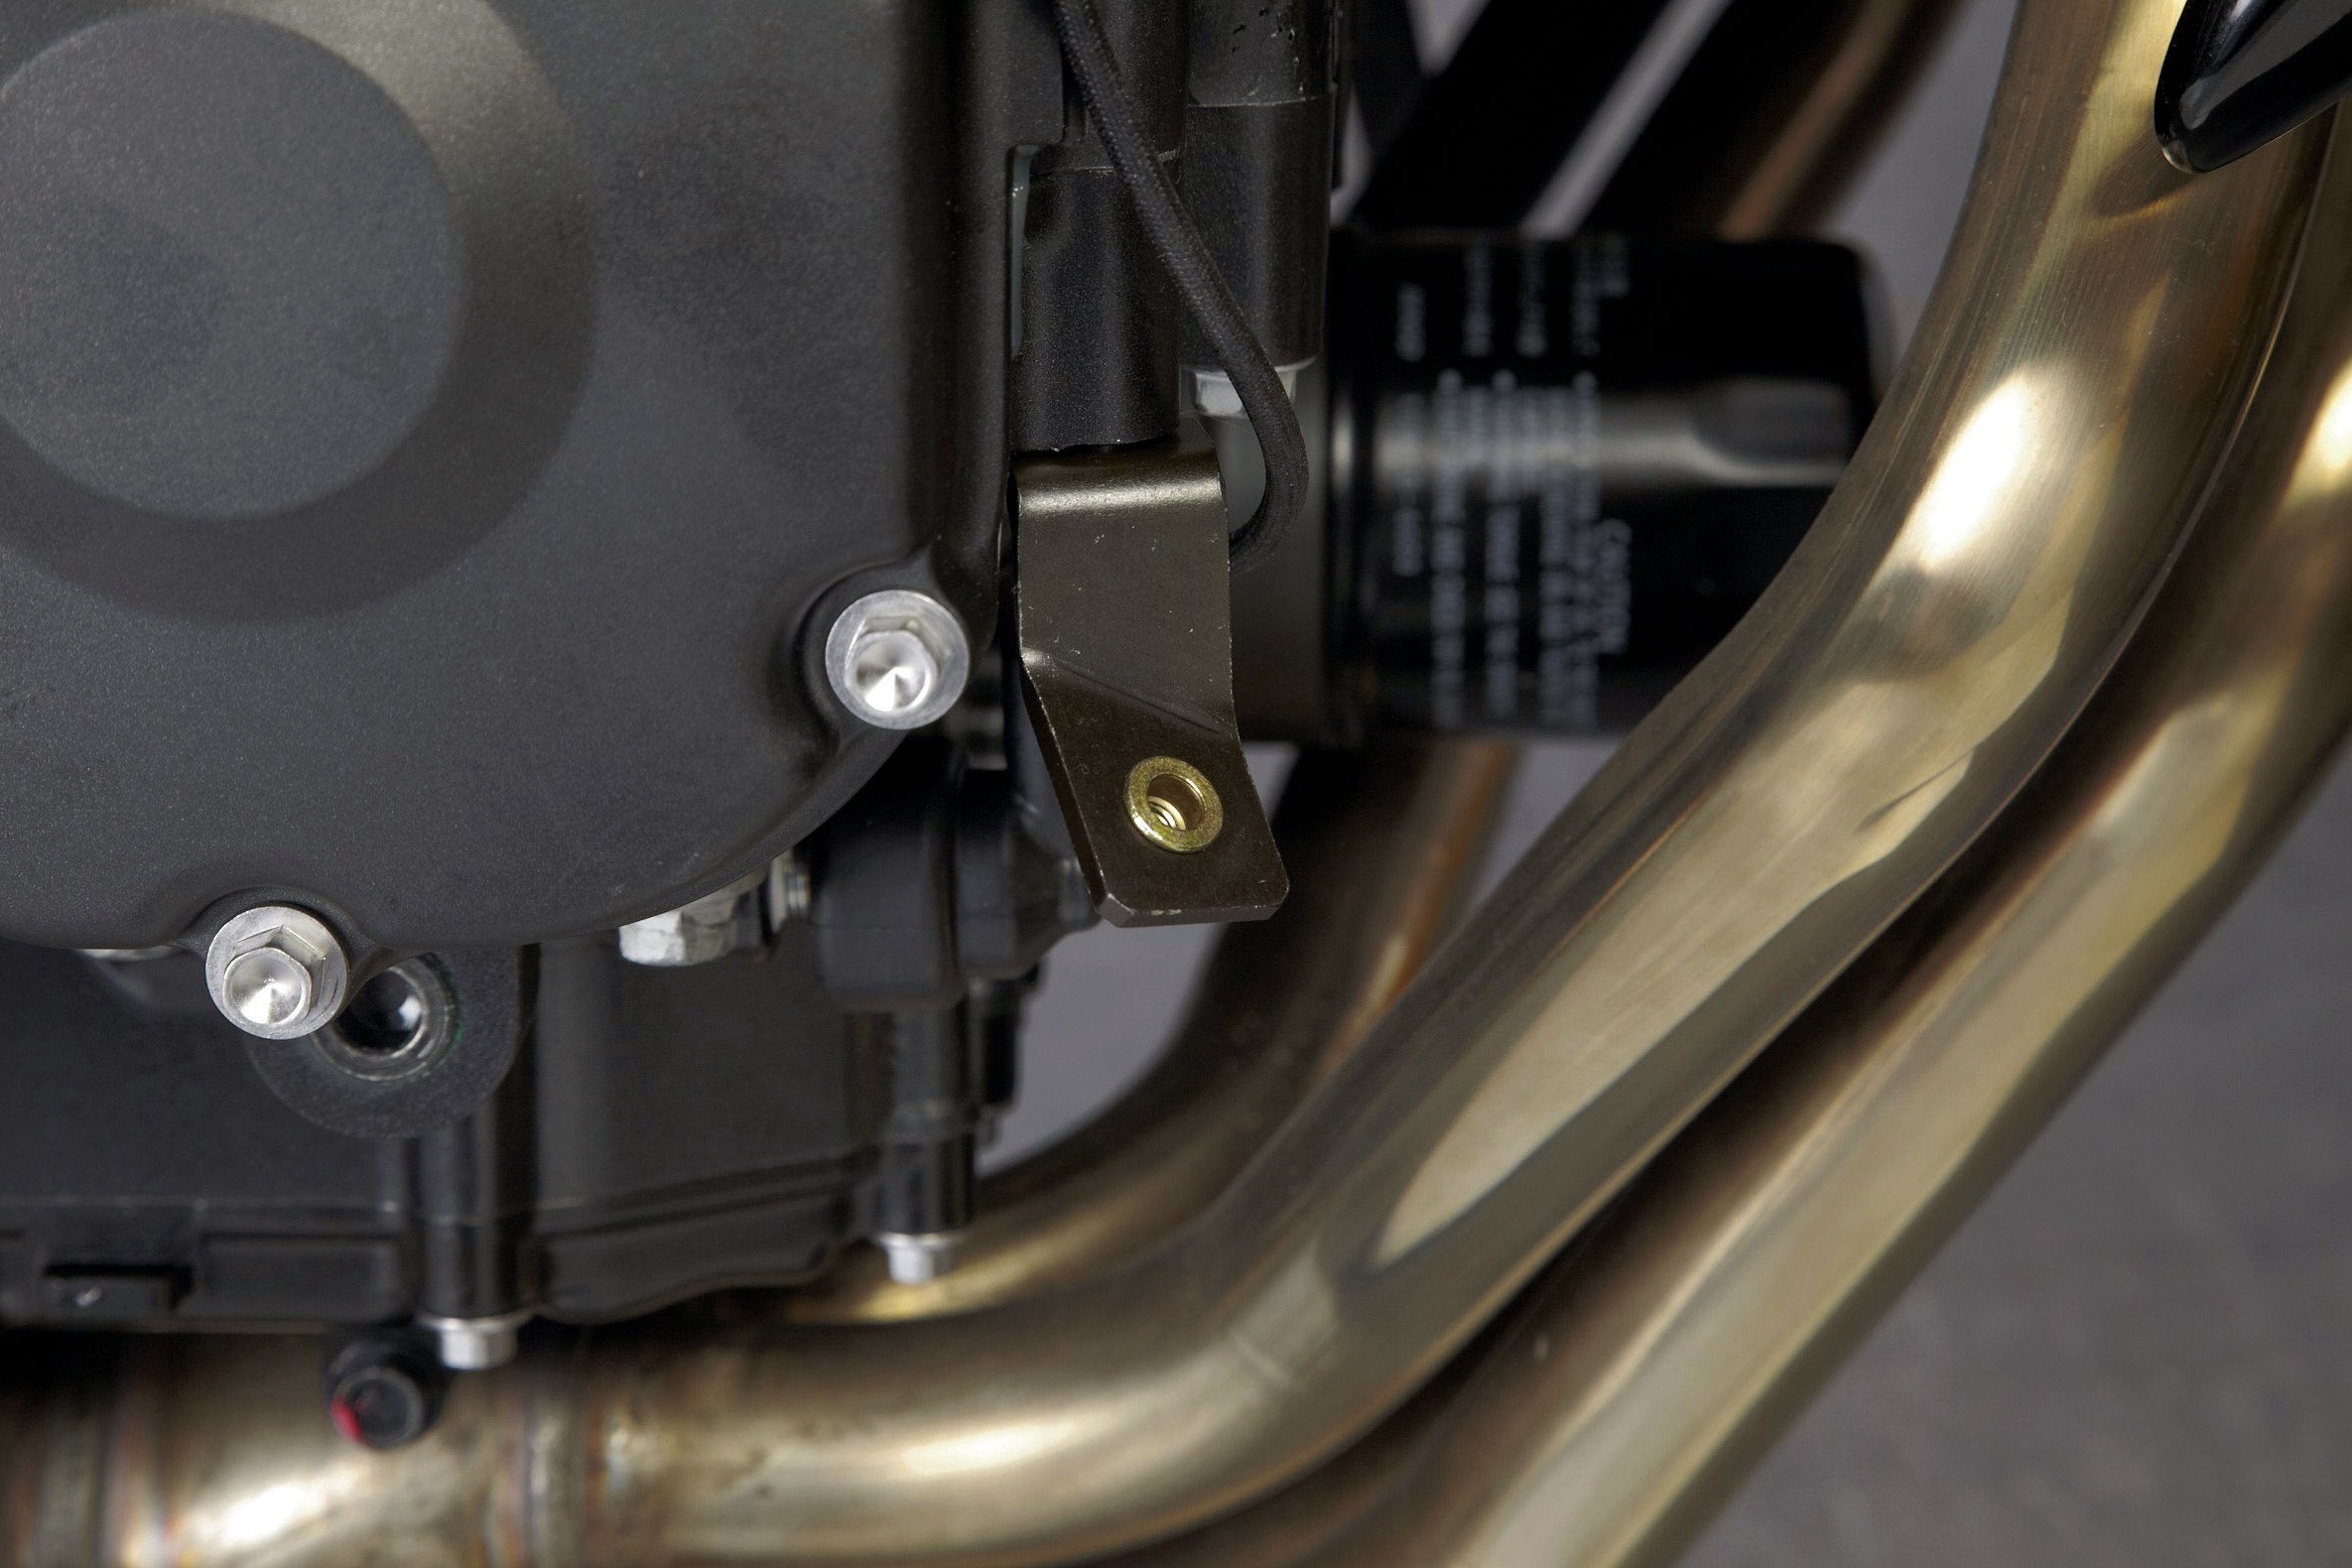
Step 19: Investigate possible leaks
19 – Investigate possible leaks
On no account whatsoever should there be any leaks from the fuel tank, fuel tap, fuel hoses, carburettor or fuel injection system.
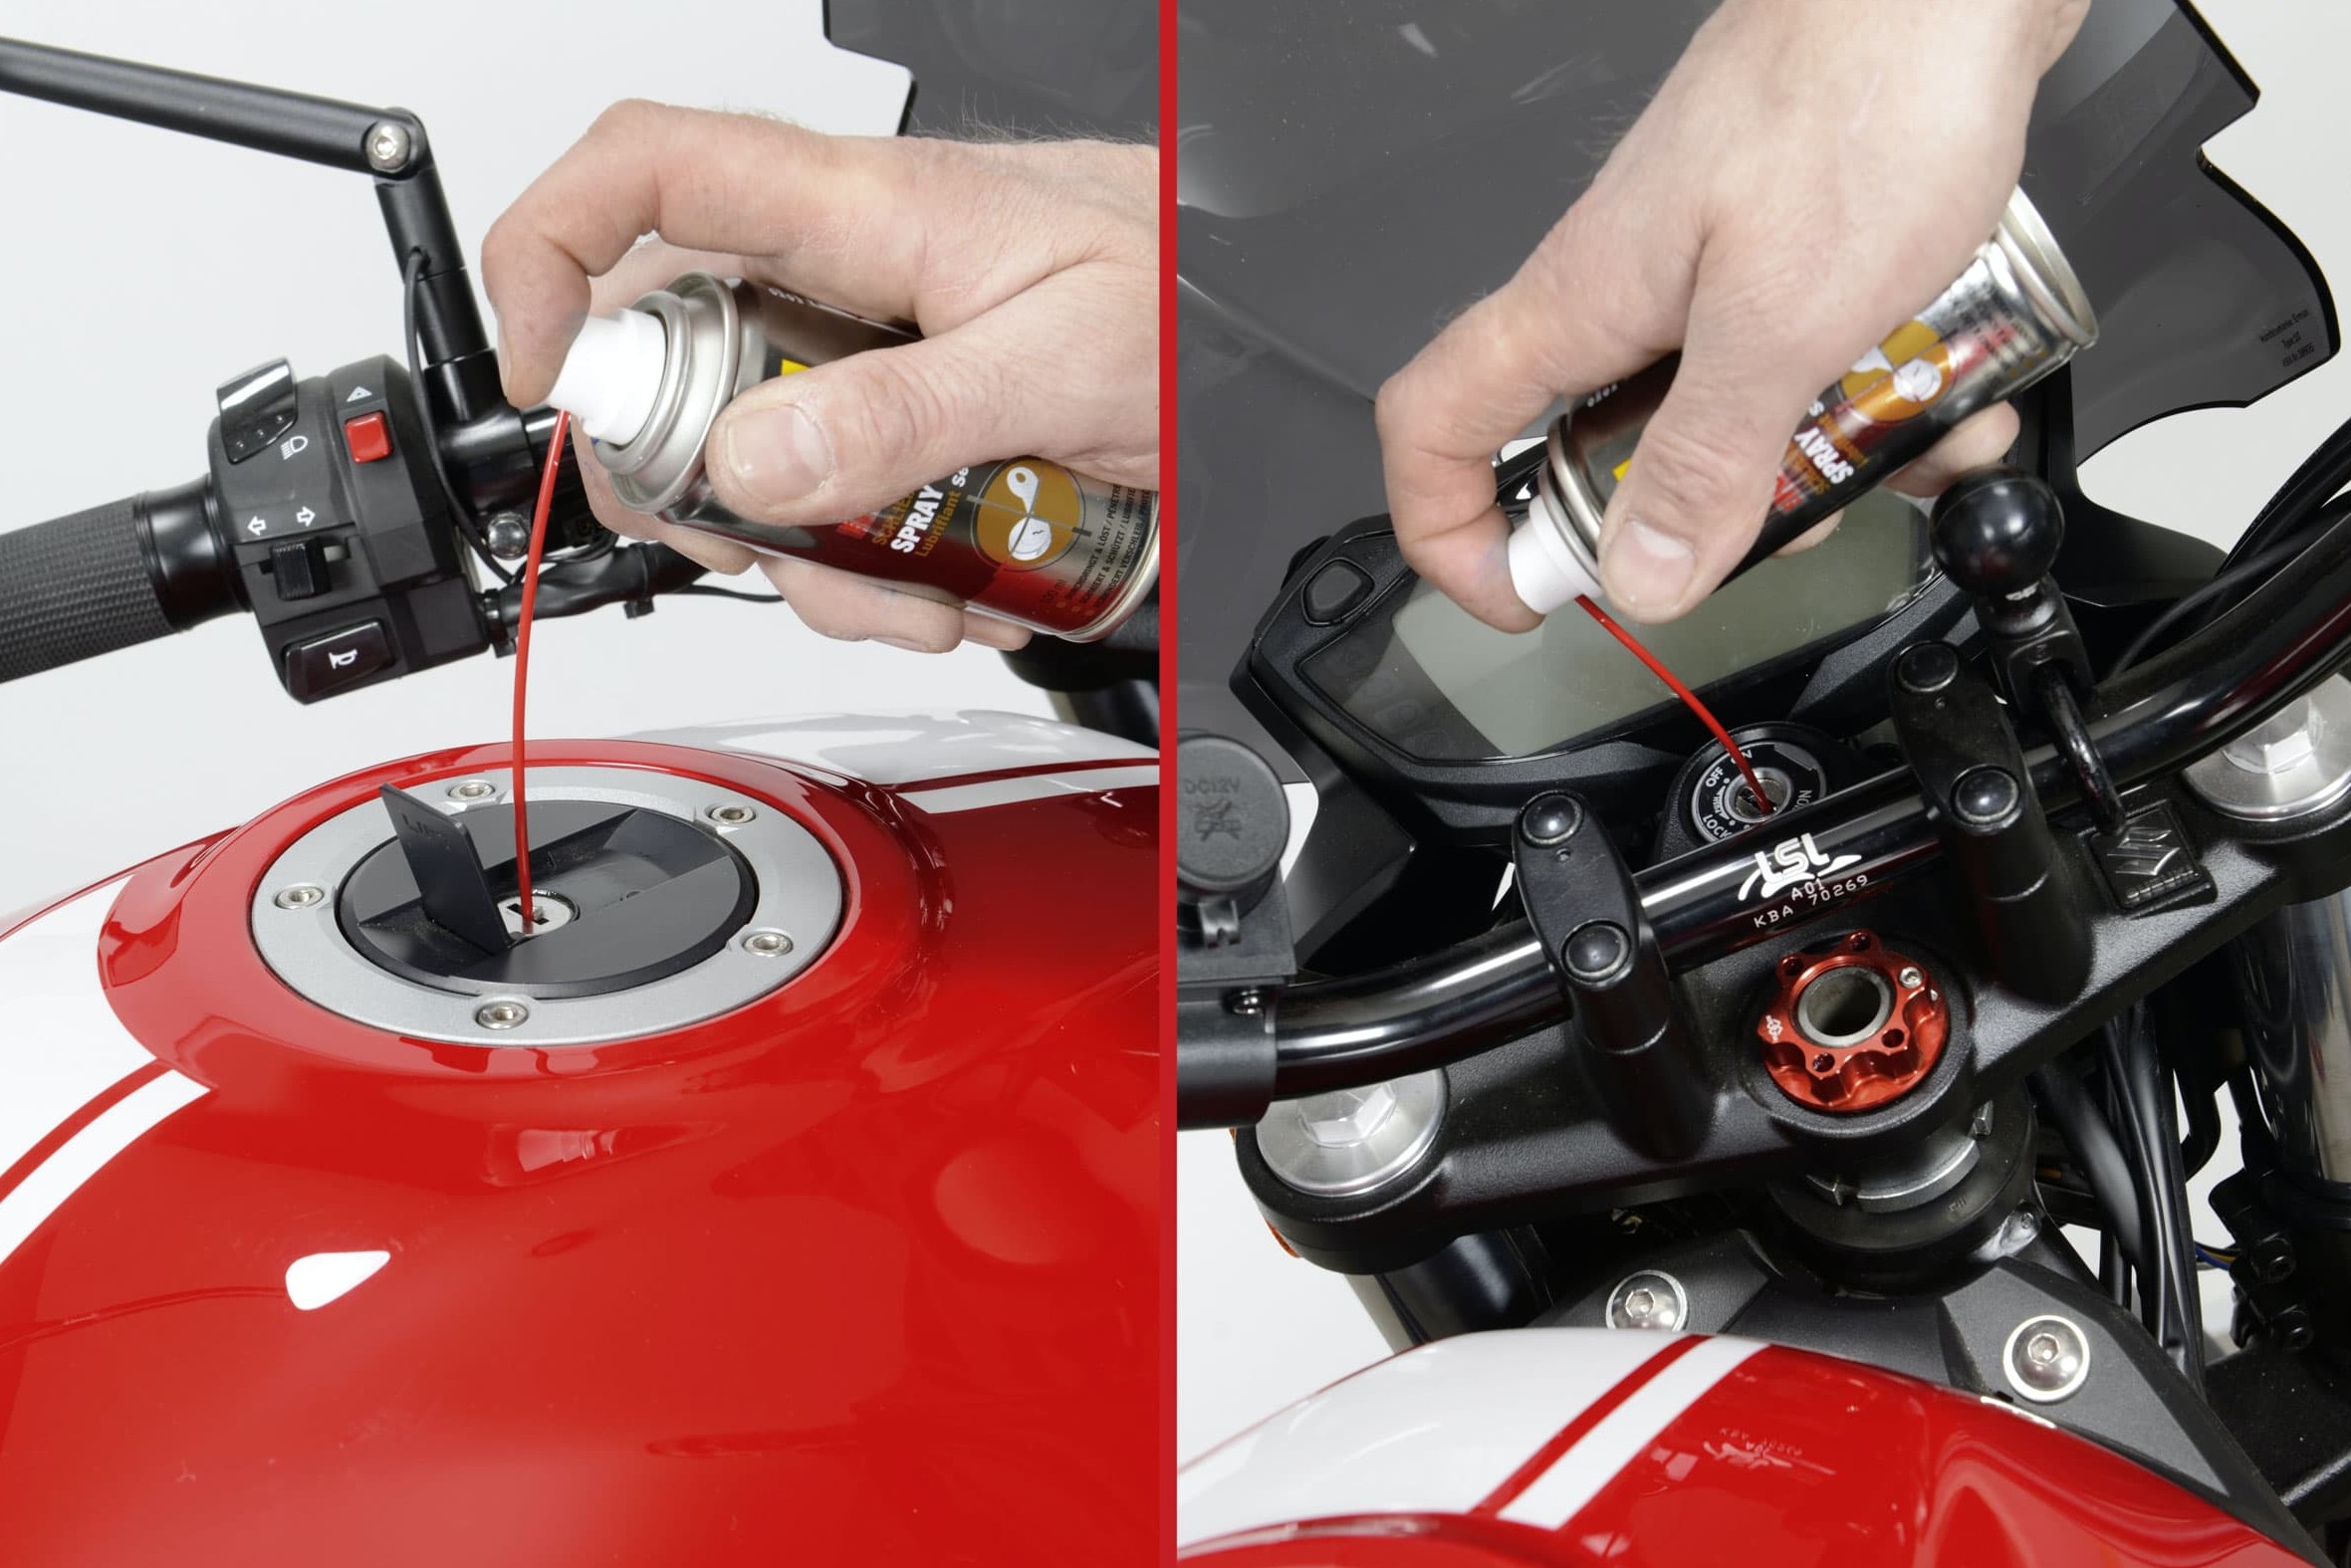
Step 20: Lubricate locks with cylinder lock spray
20 – Lubricate locks with cylinder lock spray
Make sure all locking devices such as the ignition lock, tank lock, steering lock and seat lock as well as the possibly loose accessory lock are functioning effectively. Locks are lubricated and their movement ensured using cylinder lock spray.
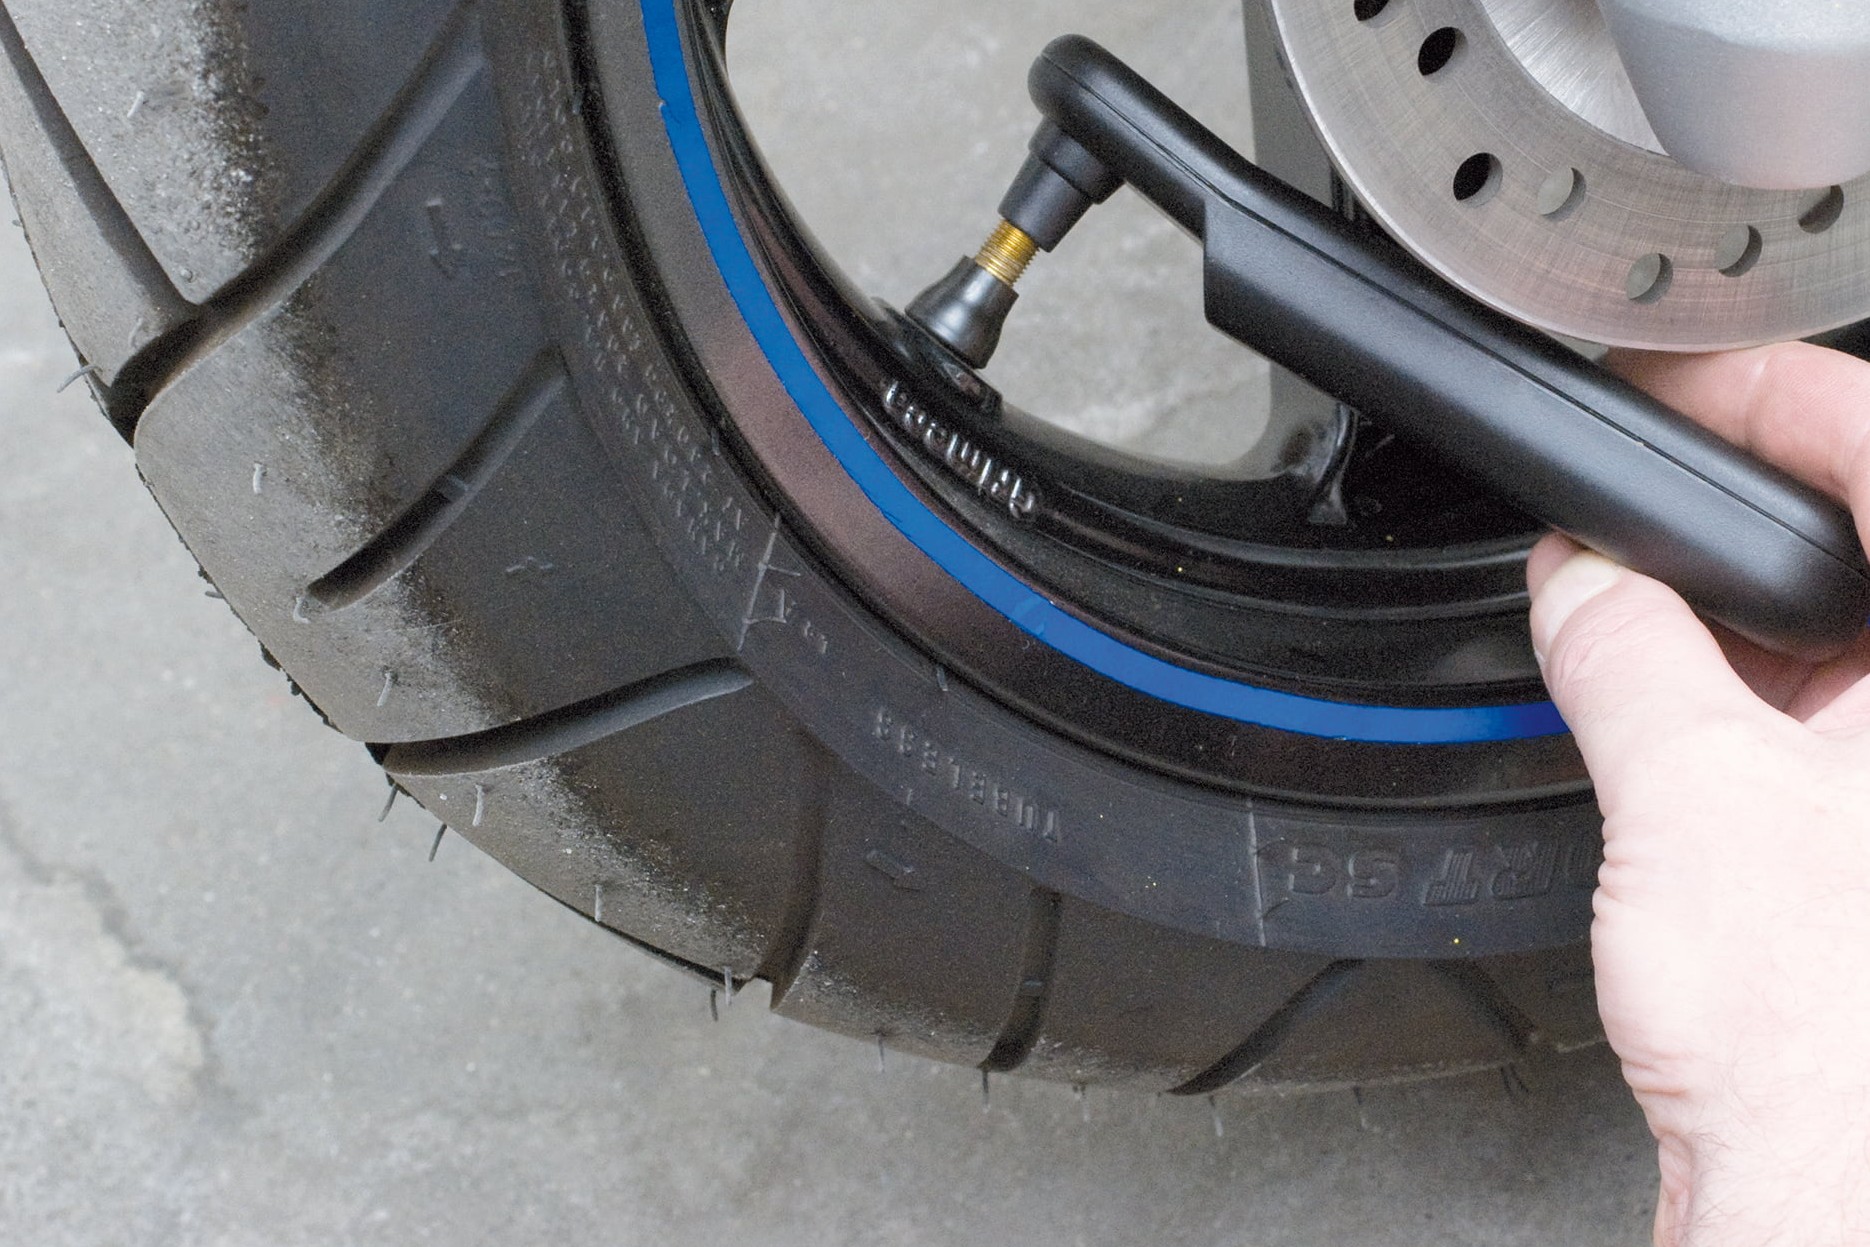
Step 21: Equalize tire pressure
21 – Equalize tire pressure
Remember to check the tyre pressure and make sure it complies with the manufacturer's specifications.
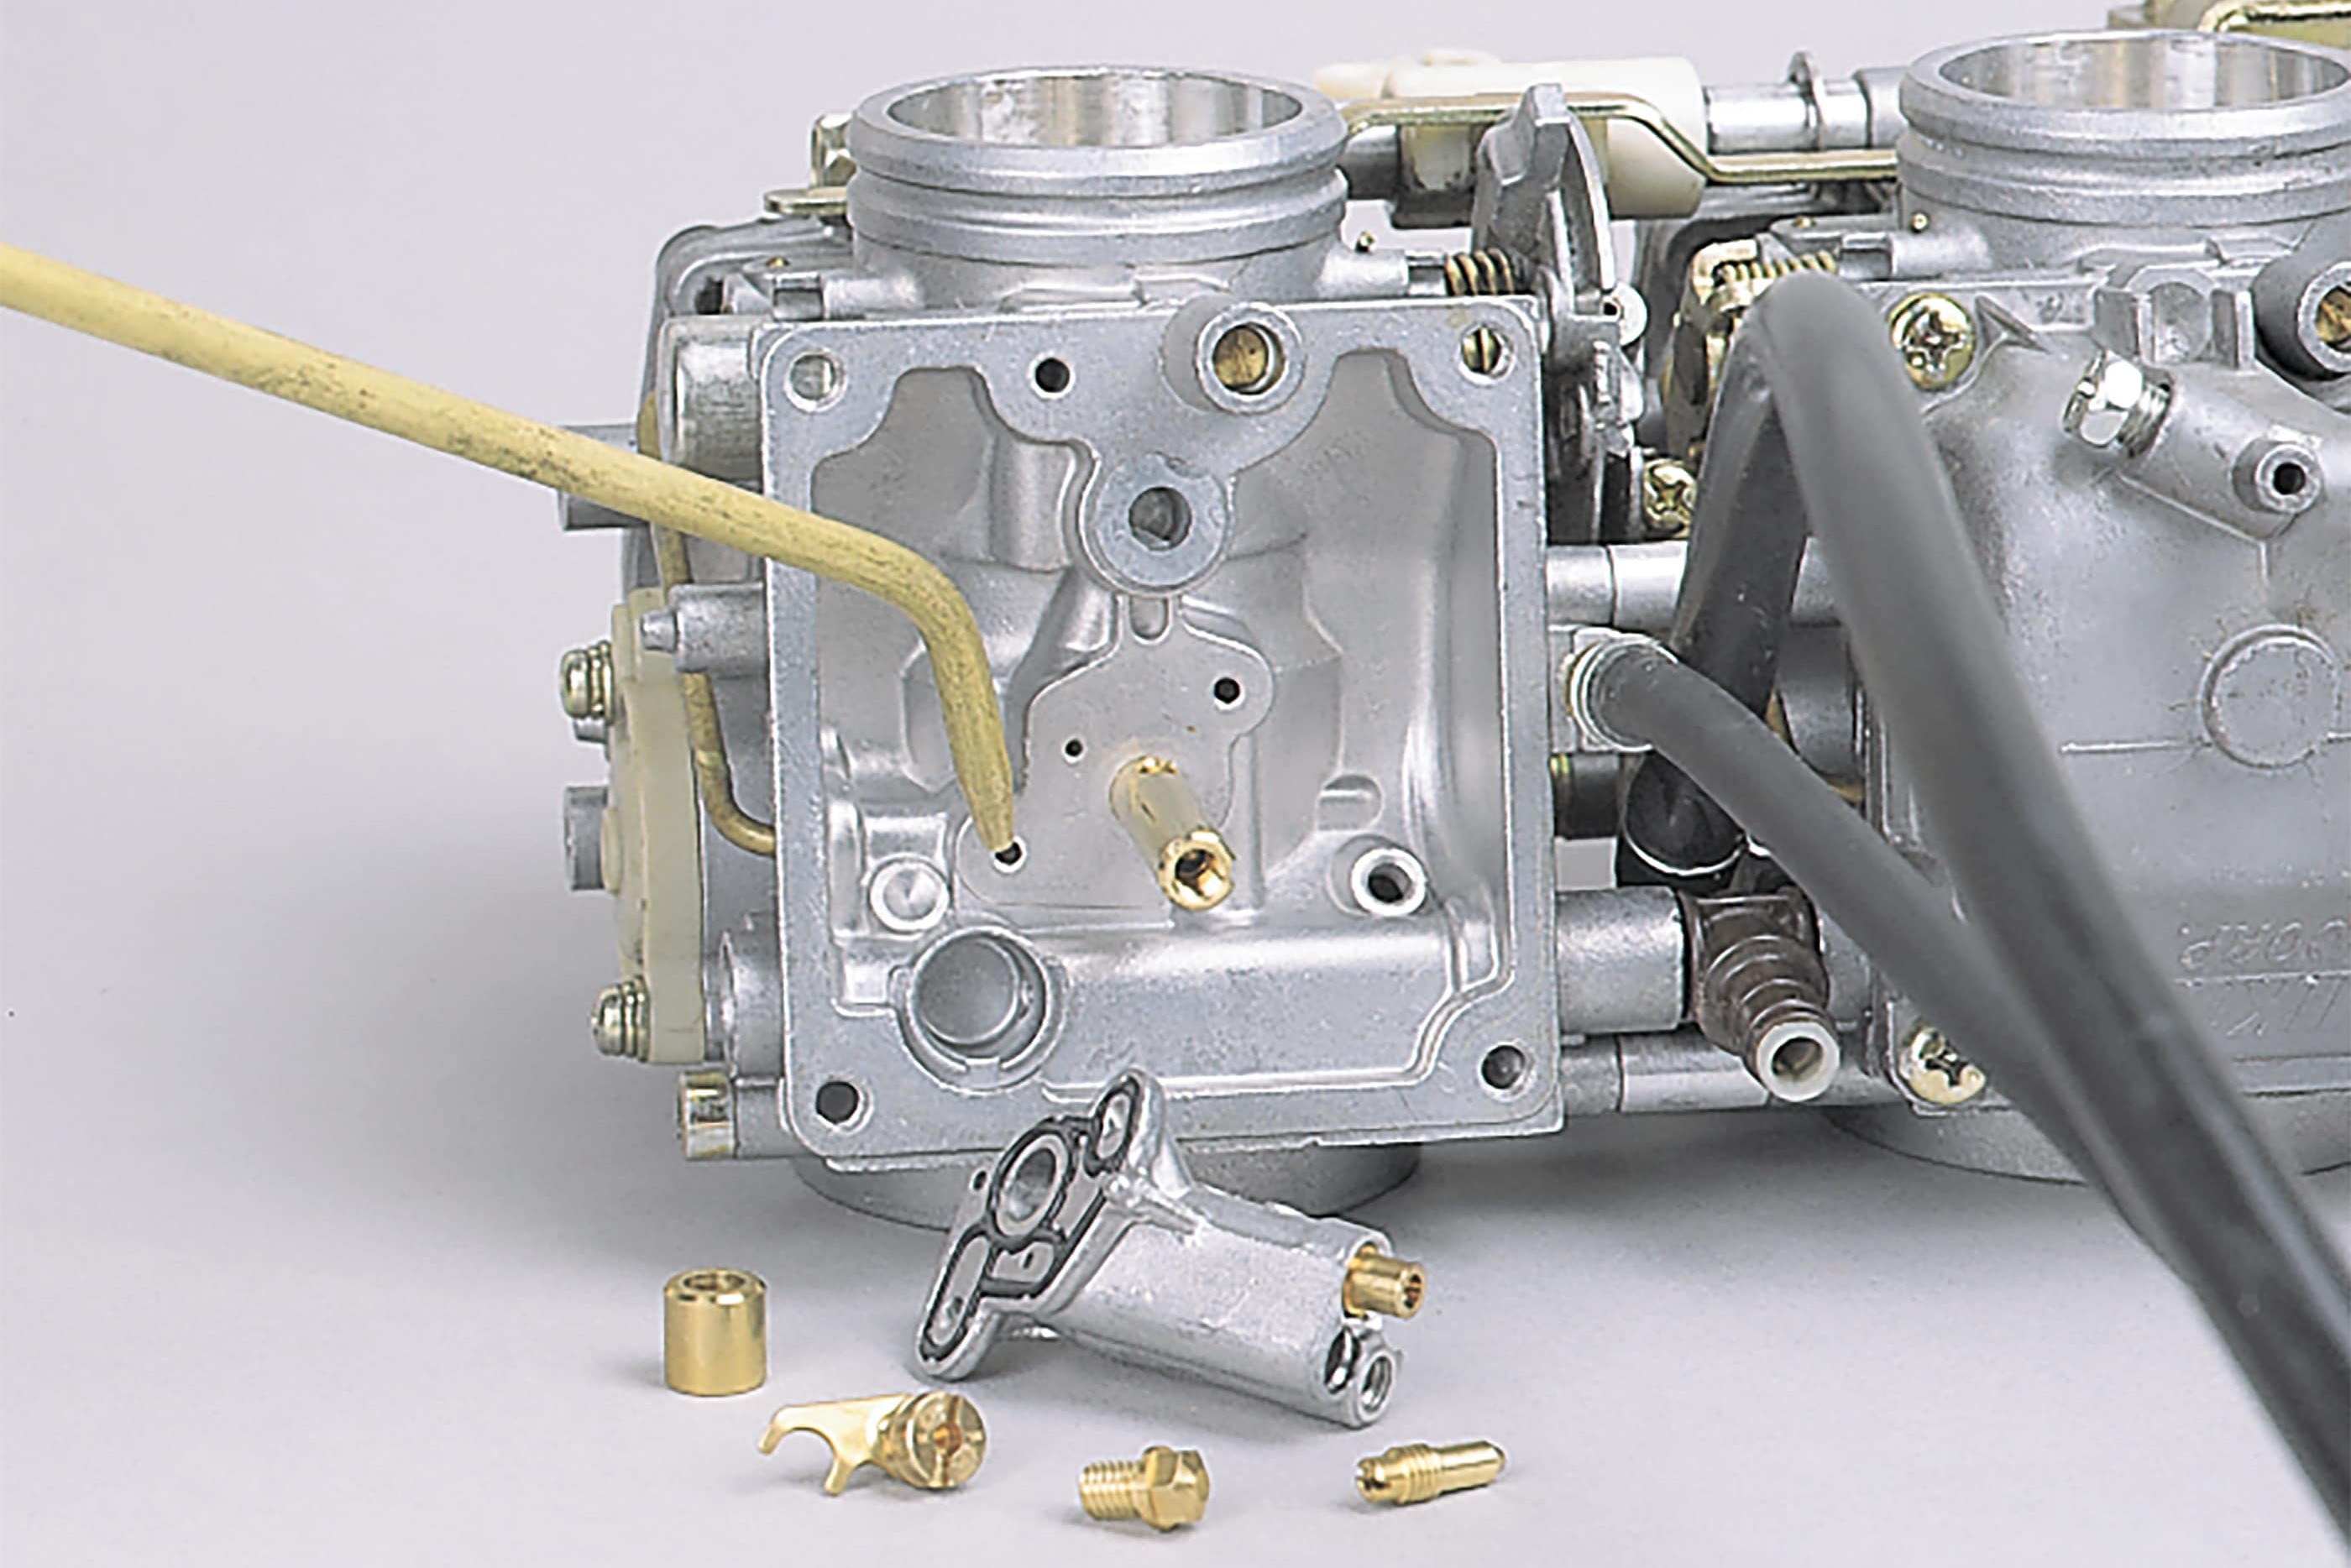
Step 22: Remove resin from carburetor jets
22 – Remove resin from carburetor jets
If you didn't empty the float chambers before winter, there may be a risk of varying degrees of resin build-up in the carburettor jets. This can be dealt with by adding some fuel system cleaner (e.g. PROCYCLE fuel system cleaner) to the fuel. In stubborn cases, i.e. if the bike continues to start badly or persistently fails to run smoothly, you will unfortunately have no choice but to dismantle the carburettor and clean it thoroughly with carburettor cleaner (see DIY tip Carburettor).

Step 23: Test ride
23 – Test ride
And now you're ready to safely kick off your new biking season. If your bike's reluctant to fire up first time, then spraying a little PROCYCLE Motor-Start-Fix in the intake tract should do the trick (see DIY tip Startup Tips), as it produces a more ignitable mixture.
And remember: after the winter break, your reflexes need time to adjust to biking again – so take it easy to begin with, ride defensively – safety first!
And on the first outing, it's also best to give your engine a bit longer to warm up (15 – 20 km), as after the long break there will be condensed water in the engine that needs time to evaporate.
Our recommendation
The Louis Technical Centre
If you have a technical question about your motorbike, please contact our Technical Centre, where they have endless experience, reference books and contacts.
Please note!
These tips for DIY mechanics contain general recommendations that may not apply to all vehicles or all individual components. As local conditions may vary considerably, we are unable to guarantee the correctness of information in these tips for DIY mechanics.
Thank you for your understanding.

